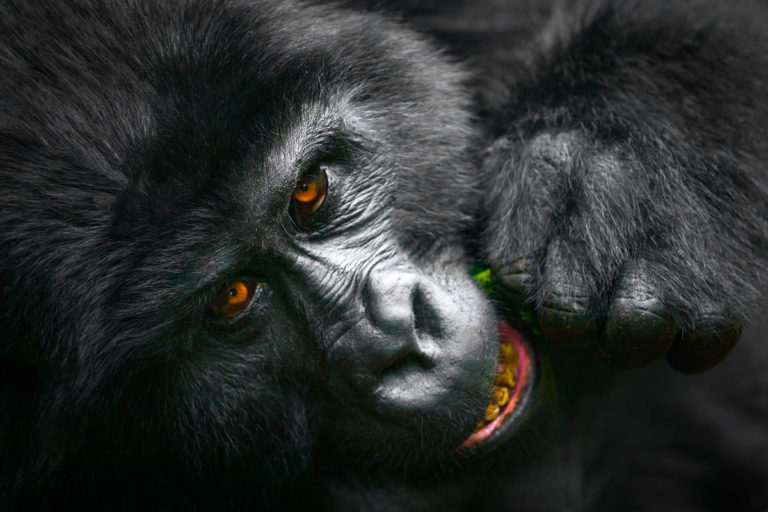
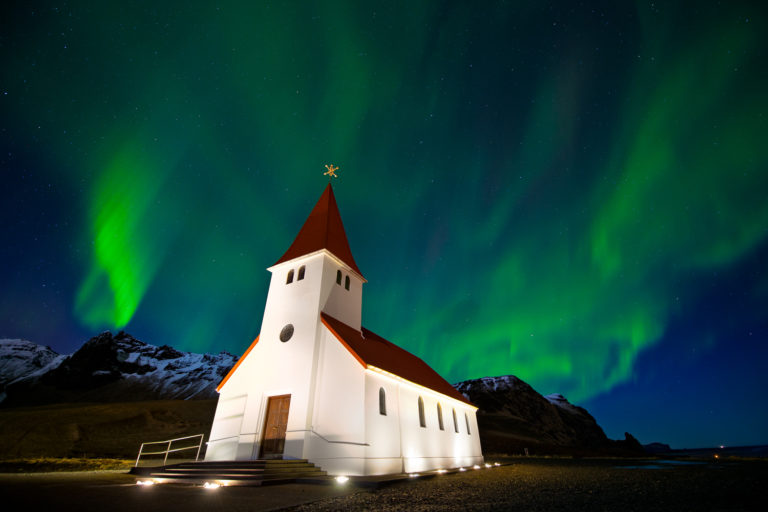
Photography, like life, is completely subjective in nature. As artists we tend to view the world solely through our own eyes…or maybe more accurately…through our own viewfinder. Over the years I have fine tuned my creative vision, style and skills when it comes to capturing images that ignite my passion for beauty, life and photography. Looking at a scene, even before I grab my camera, I already have multiple ideas of how I am going to expose my image(s), how I am going to compose and frame my subject and I have even started to visualize how I am going to edit the image when I am back in my office. While all of these ideas are simply starting points that help me move quickly while shooting, they also allow me to more accurately visualize my own vision when giving photo critiques on images that are taken by other photographers.
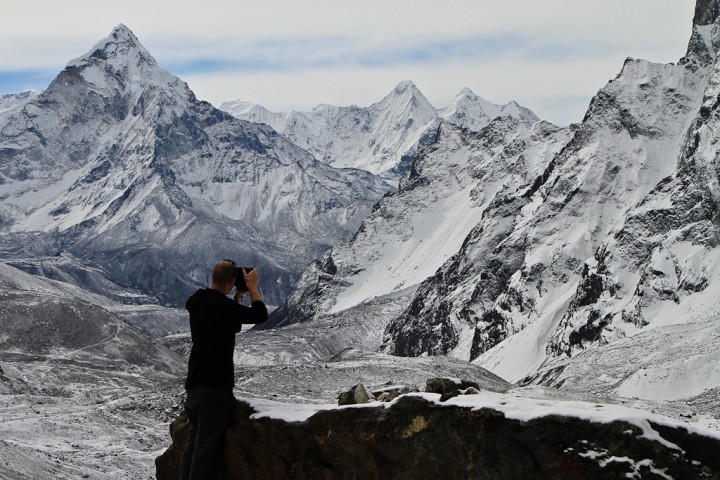
In my opinion, photo critiques can act as amazing learning tools for everyone involved. If you are having one of your images critiqued, then you are allowing yourself to open up to ideas that you might not of imagined on your own. Whether that has to do with your exposure, composition, the stylizing of your image or all of the above and more. This allows you to take suggestions that hopefully get you thinking outside of your comfort zone and possibly ignite a creative side in you that you did not know you had. On the other hand, learning how to give a photo critique allows you to hone in on the skills I mentioned above. But you have to take it farther then just, “I would of cropped the image differently”. You have to figure out WHY. That is the most important piece in giving a critique. The WHY! By dissecting an image, even if it is just in your own head, you will begin to learn not only more about the technical and creative side of photography, but you will also begin to look at your own work differently. They are incredible tools for learning and that is why I have created a Photo Critiquing group on Google+. *You can find more info on the Photo Critiquing Group at the end of this post.
This morning I was looking through my Google+ stream of information and I saw a post by Michael Lorigo. He was asking our group for a critique and his image caught my eye. I told him that while I enjoyed the overall image, I felt that he had to tune down the blues tones and adjust his editing of the lighthouse, for I felt that both took away from the beautiful light in the sky and the perceived subject of the image, the lighthouse itself. Something felt that the sky looked too harsh for the soft light it held. The image also suffered from a slight “halo effect” (a common issue with HDR images where brighter light surrounds a darker object, such as with the lighthouse and the left side of the horizon). He then began to re-edit the photo and then proceeded to upload the changed image.

While it was softer, it was still missing something. I thought, this is a perfect opportunity to showcase the advantages of a photo critique, specifically that two people can look at an image and see completely different things. I asked him to send me the original RAW files so that I could share with him my own vision for his image.

I took those RAW files and I used a LR plugin called LR/Enfuse to blend them together. It is a great little plugin for LR that gives you a very basic tone mapped image from a number of bracketed shots. Normally I would do a manual blend of the base exposure (for the sky) and the over exposed image (for the water), but for time sake, this was the better option.

When I first saw this image, the sky immediately grabbed my attention. I love shooting in soft light myself and I thought a soft but slightly saturated look would work well for this image. I also love silhouettes and felt that if I brought out any of the details of the lighthouse, the discrepancy in contrast of light would push this image to far. I began by cropped the image in, added some contrast, clarity and a slight touch in vibrance. I then brought it into Adobe Photoshop, where I use onOne Software’s Photo Tools to add a couple of my favorite stylized filters to the image. Once I was finished there, I brought it back to Lightroom and began to selective desaturate the sky (as some of the filters added a little to much saturation). I also ended up adding a slight amount of noise reduction in both the Luminance and Color sliders to balance out the slight increase in noise that usually comes from non manually blended images.

This demonstration is meant to show that there is no “right” answer. Photography is art and art is subjective. Maybe Michael Lorigo will take something from my version. Maybe he won’t. Maybe it will get him thinking of a completely different way to edit this image or his others and it would have nothing to do with what I did here. The point is that EVERYONE can bring value to a photo critique, not only professional photographers. Don’t be shy. Get out there and get involved. Interact. Engage. You never know what you might teach yourself in the end.
*The Google+ Group that I created is called the “Behind the Lens – Photo Critique” group and it can be found HERE. That link also has instructions on how to join. If you have any questions, you can shoot me an email through my contact section or find me HERE on Google+. Currently we now have over 725 members in this group and it is growing bigger every day. Join us.
*If you are looking for an invite to join Google+, please click on the txt link under the Google+ icon to your right in the sidebar of my blog.

