One of the coolest features of being a Sony shooter these days is the fact that you can buy and download applications to run on your Sony Mirrorless Cameras, much like you can with your smart phone. Why is this great? Because for a few bucks, you can add a lot of features and functionality to your camera that it didn’t have before, such as the ability to easily capture and compile time-lapses out in the field with the Time Lapse App.
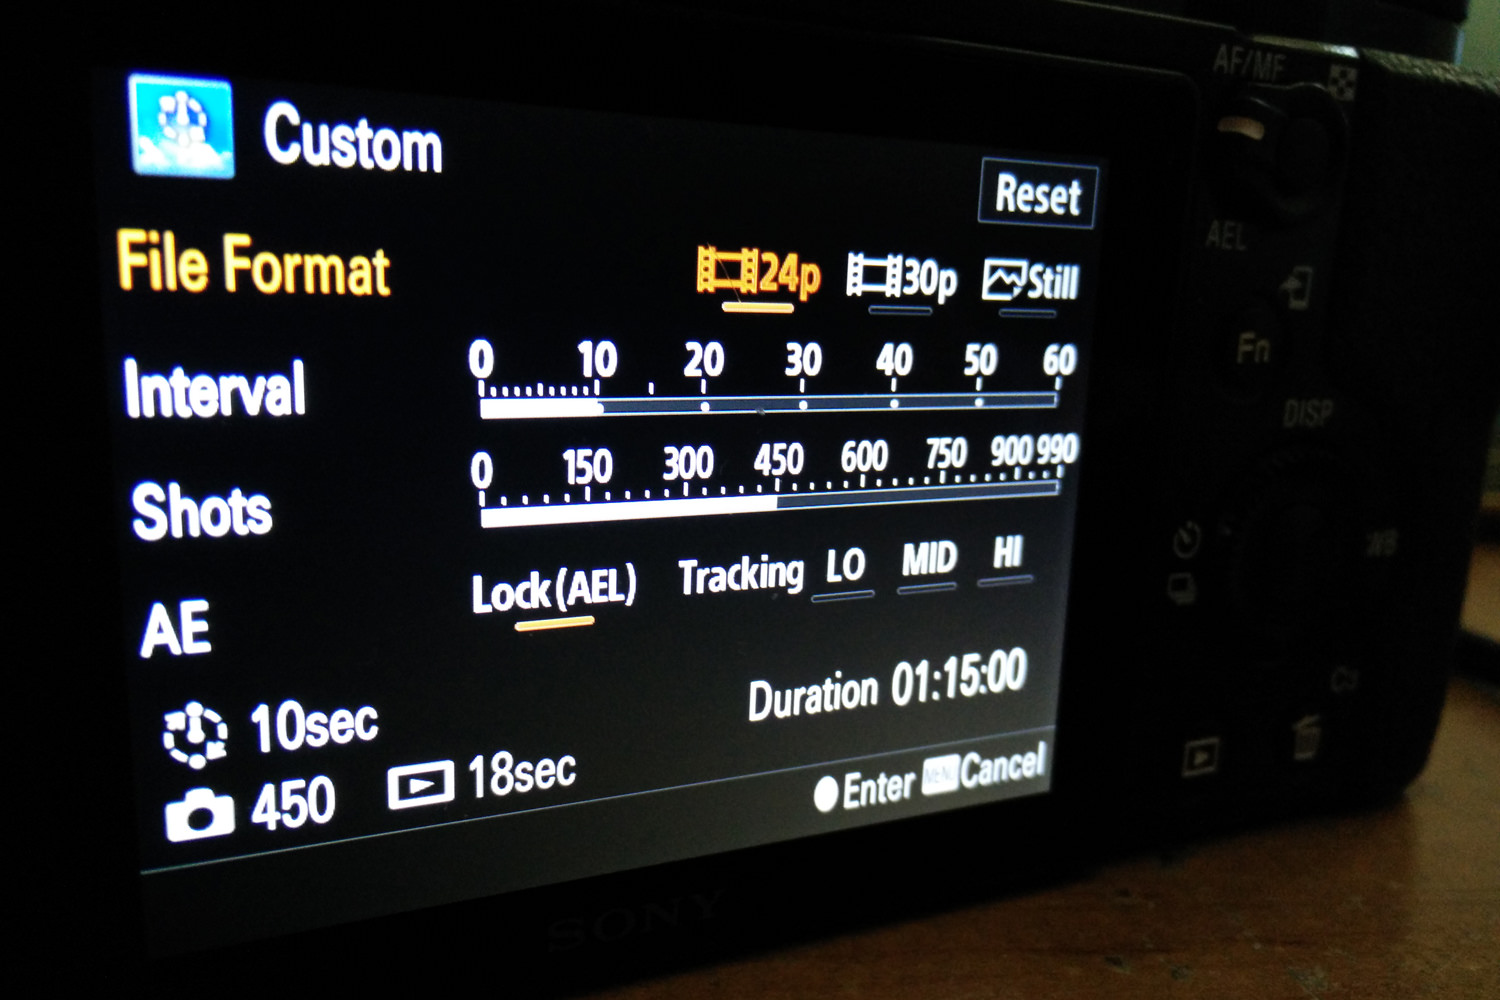
While it is great that Sony added these feature to their cameras, the process to connect your camera to your wifi hotspot, type in your password, log into the PlayMemories website, find the app you want to buy or upgrade and download it is convoluted to say the least, especially since you are doing all this on thetiny 3″ screen on your camera. Never mind the fact that if this is your first time and you forgot to add your CC to your account before you started this process, be prepared to do it all over again. There has to be a better way right? Luckily there is!
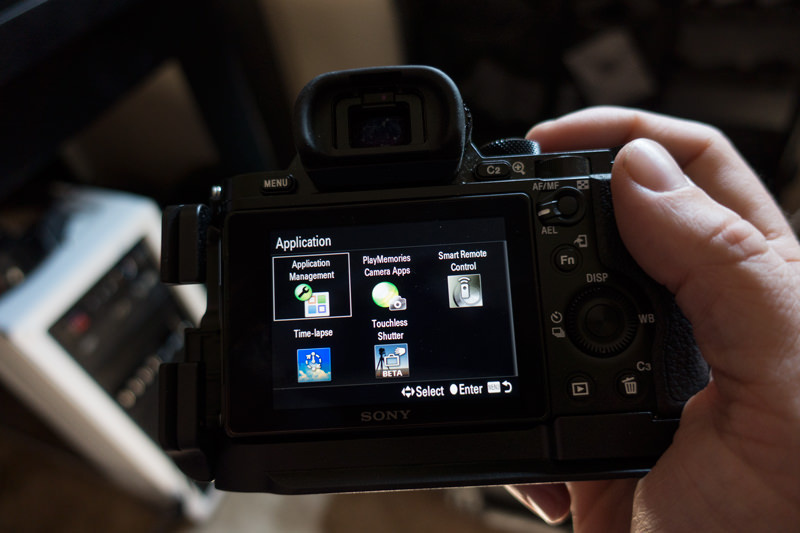
Most people don’t know that you can easily use your computer (desktop or laptop) to not only login to your PlayMemories account, but purchase, update and transfer apps to your camera. This not only makes the entire process easy, but much MUCH faster as well. This process works with both the latest version of Chrome as well as Internet Explorer on Windows. Safari is supposed to have support for the plugin you will need to download, but since I have not tried it personally, I can’t tell you if it is a viable option or not. If you are a mac user, share your experiences in the comments below!
Step by Step
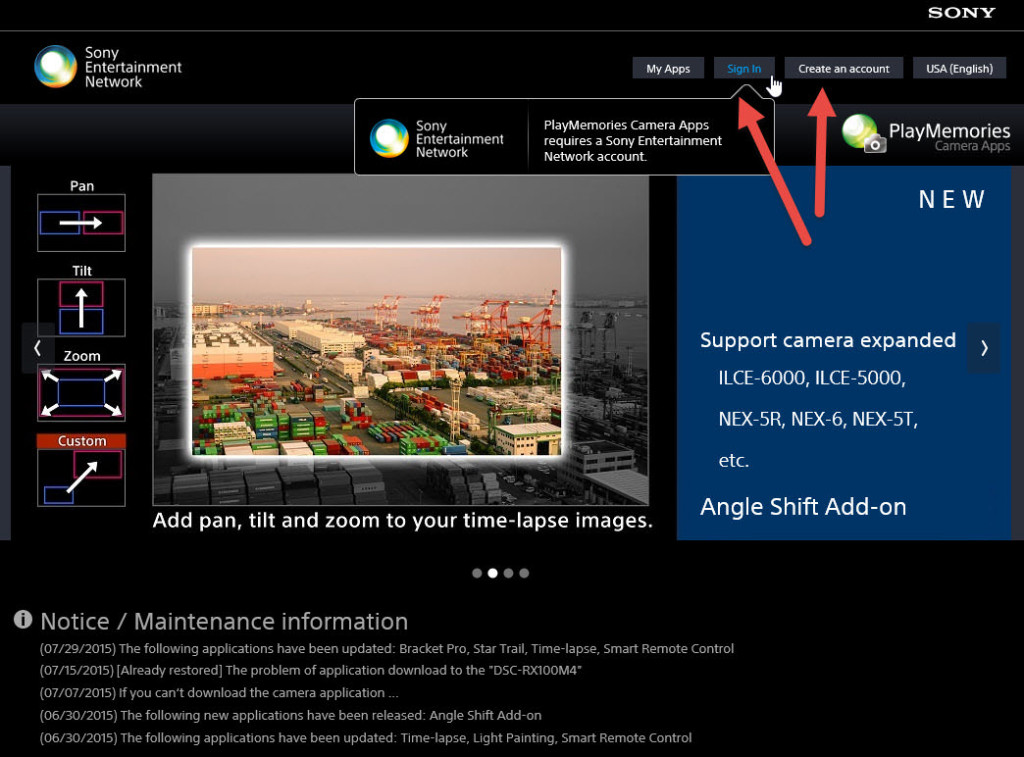
1. To start things off, let’s all head to the PlayMemories Camera Apps website.
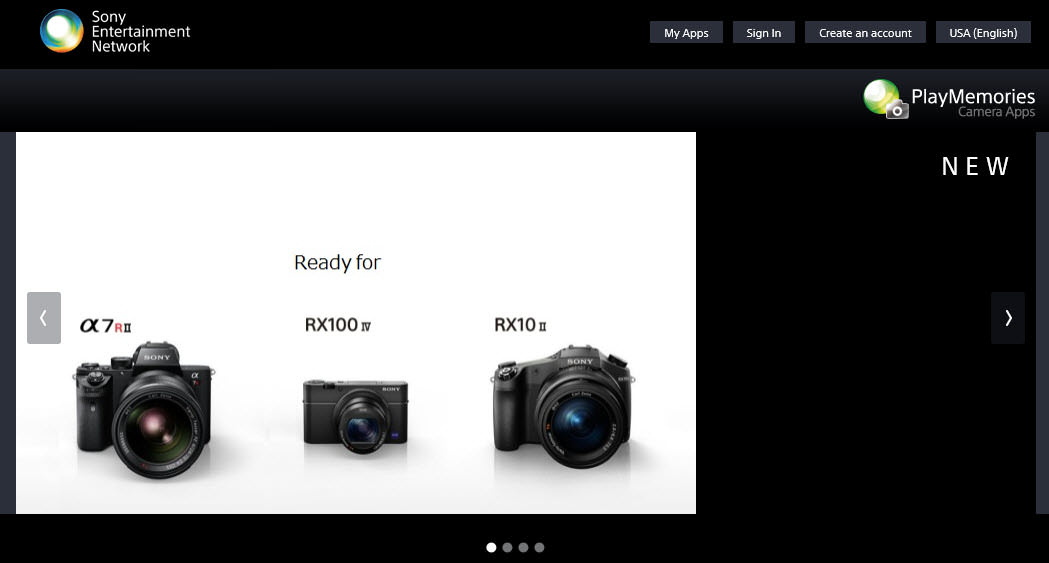
2. Once there, either sign into your existing account or create a new one if you haven’t already.
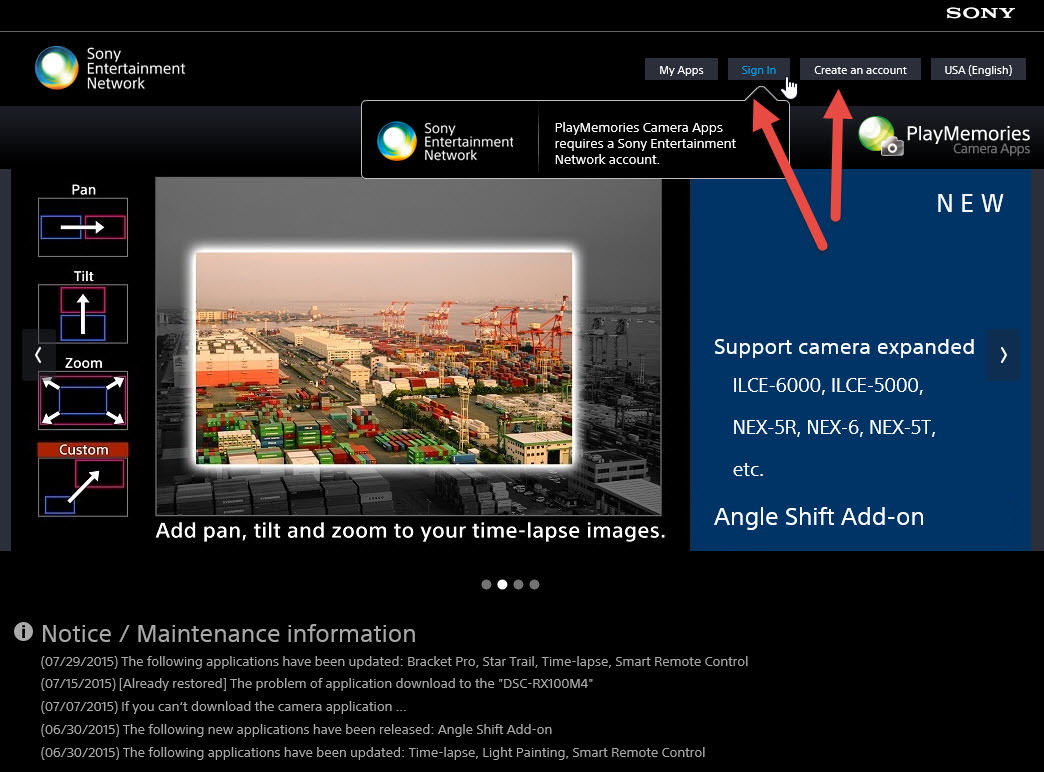
3. Once you are logged in, click on the “My Apps” tab at the top of your screen.
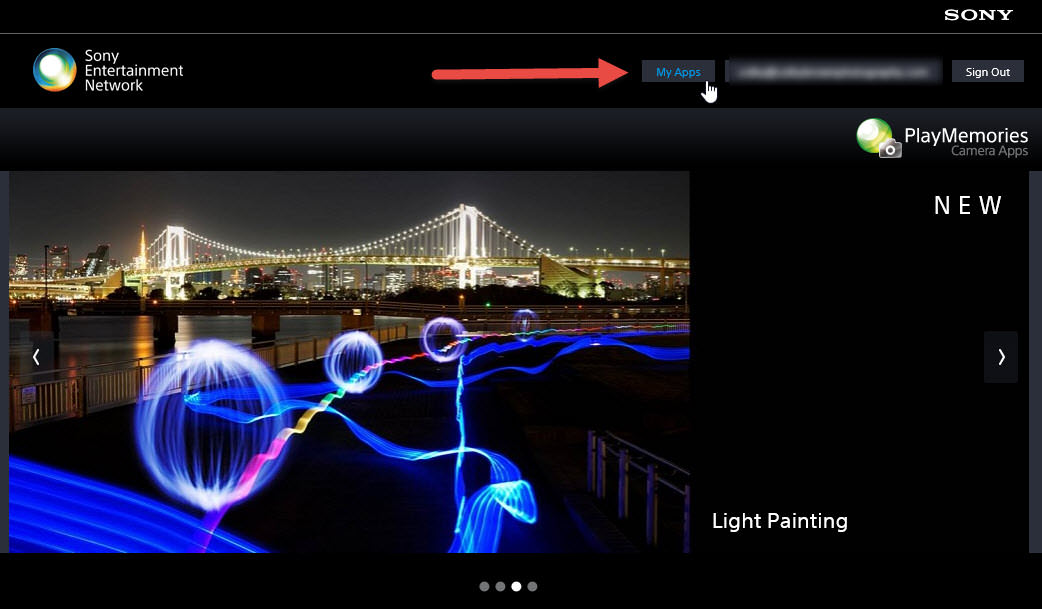
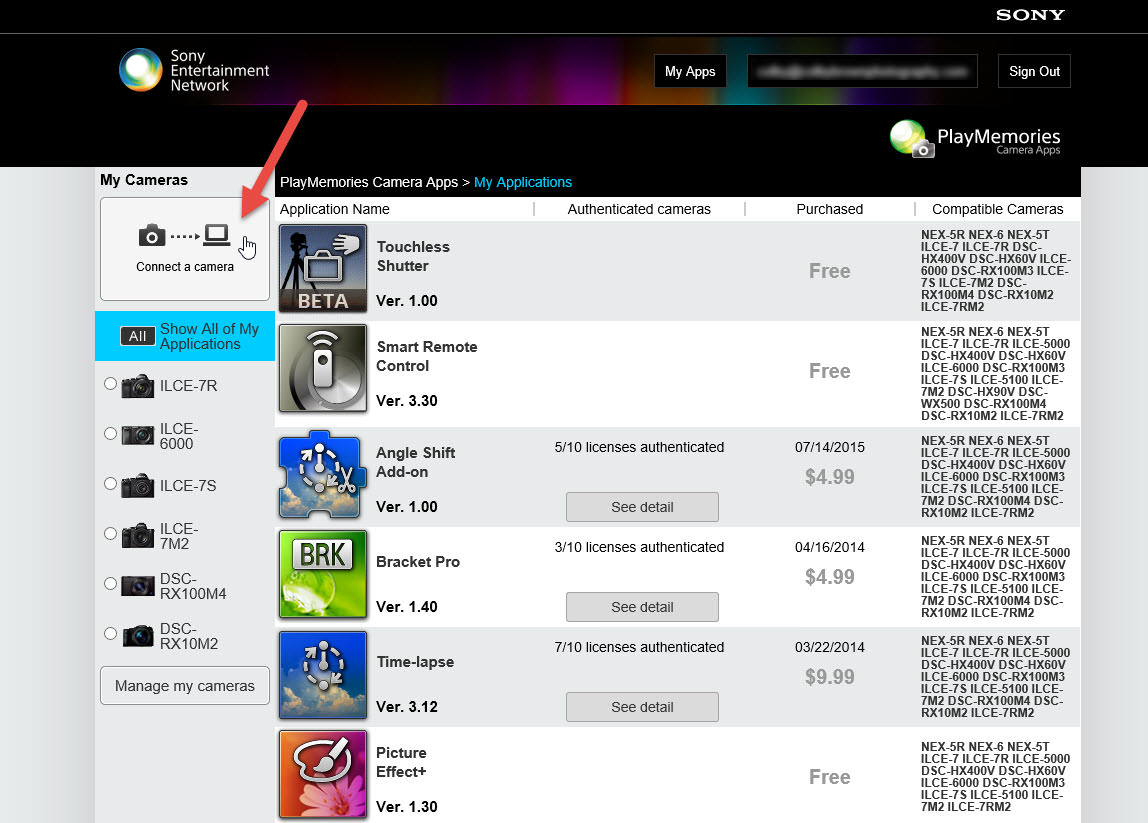
4. Now you will be taken to your profile screen for any applications currently associated with your account. On the left you will see any cameras you have already connected to your account and on the right, the apps that you have purchased or downloaded. By clicking on each camera, you can see what apps have been registered on what cameras. Once here, click on the “Connect a camera” button in the top left-hand part of your screen.
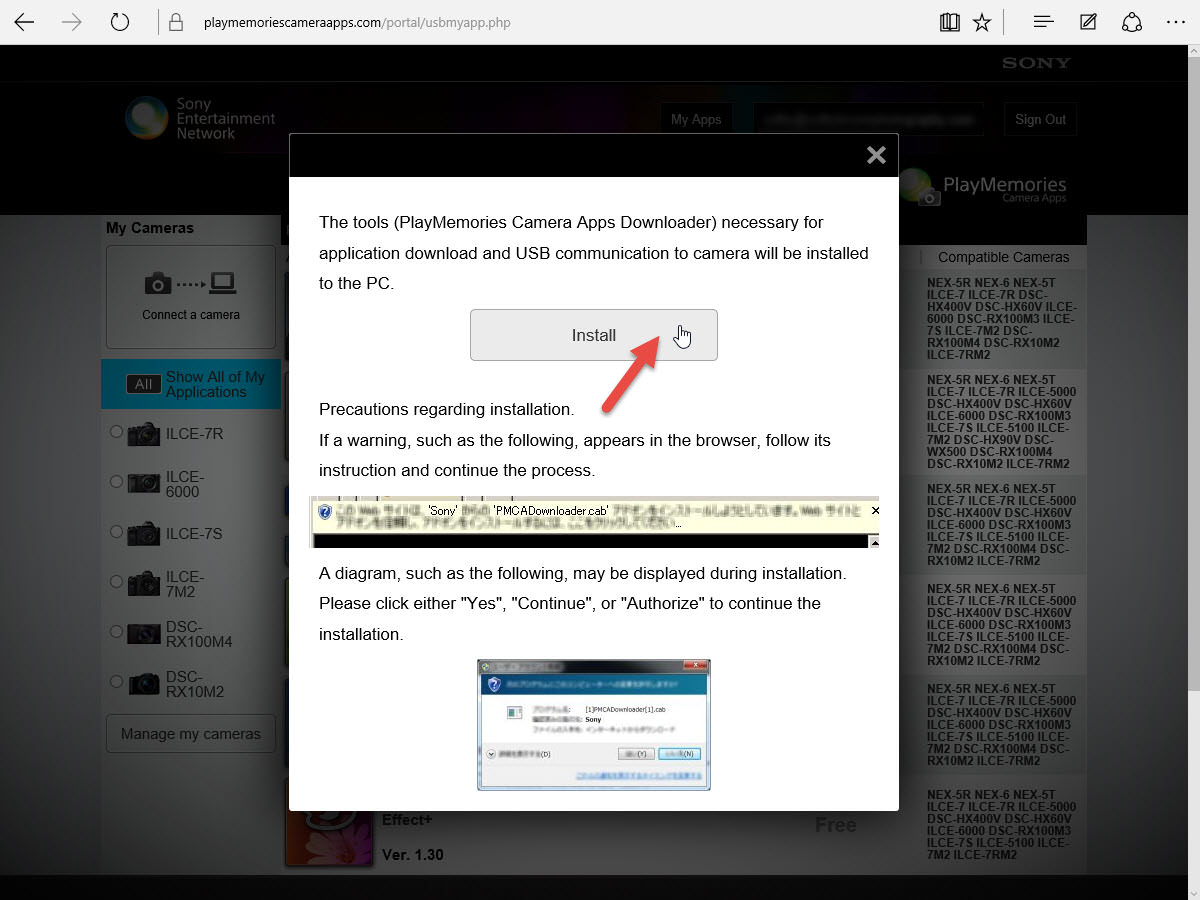
6. However to actually connect our camera, we have to download a small plugin file called “PlayMemories Camera Apps Downloader”. If you don’t have it installed, a pop-up window will appear with instructions
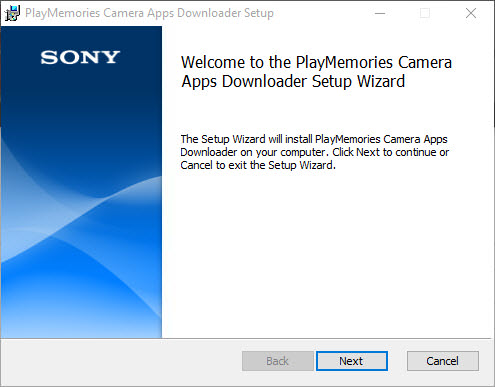
7. Once the file has been downloaded, run the program. After it finishes installing, you may need to restart your computer for the plugin to take effect within IE.
8. After the app is fully installed and you have either restarted your browser or fully reset your computer, head back to your My Apps page and click on “Connect a camera”. This time make sure your Sony mirrorless camera is plugged into your computer and turned on. I have found that setting the USB mode on the camera to “Mass Storage” on a Windows Machine (MTP on a Mac) seems to work great, although leaving it on auto might be fine as well (before you plug it in). If all goes well, you will see the following screen.
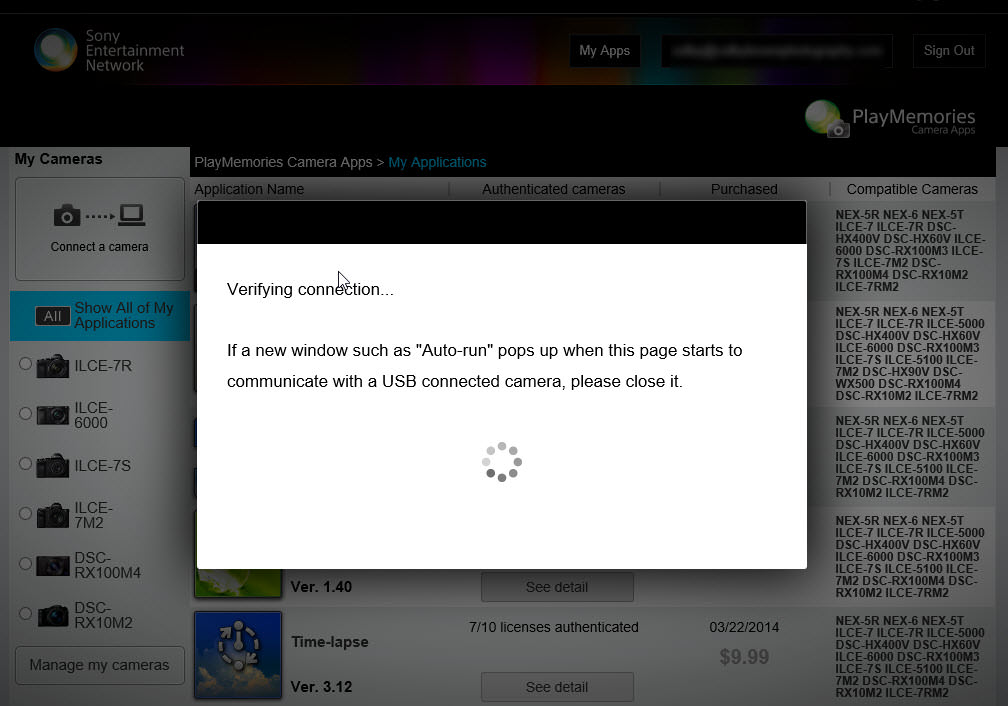
9. Once everything syncs up, you should see your connected camera in the stop where the old “Connect a camera” button used to be. You should also get a run down of the apps found on the connected camera, which will include a notification if any of your apps have an update ready.
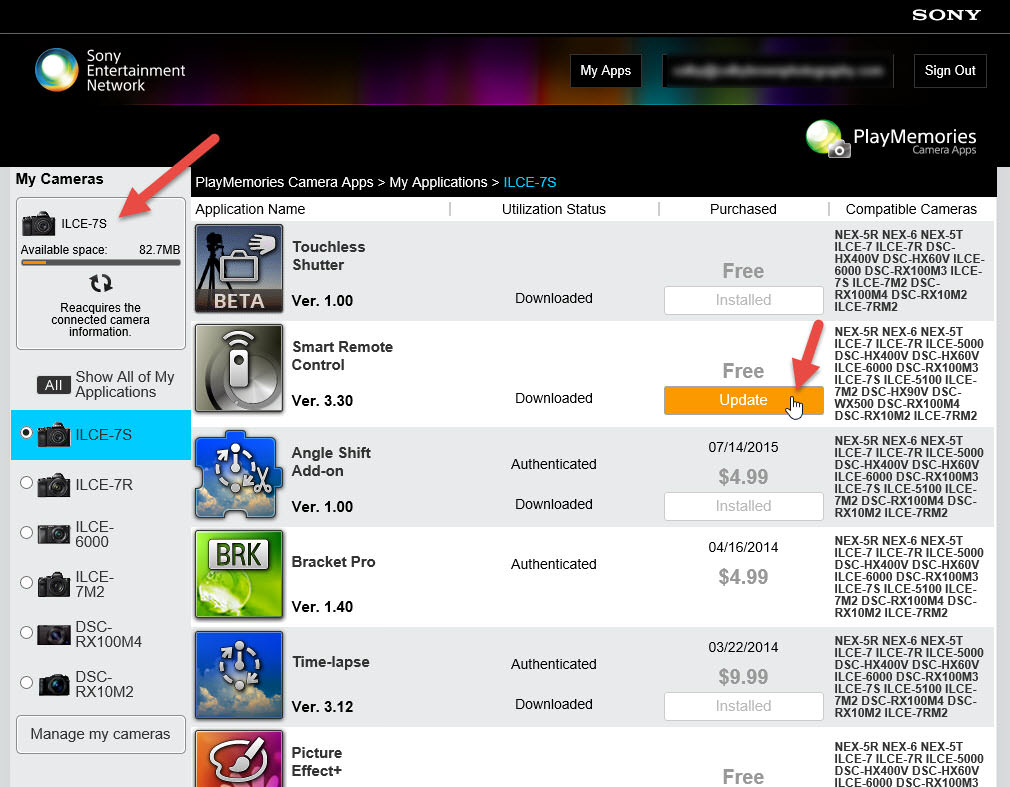
10. To update any apps, simply click on the “Update” button seen above to go to that Apps web page. From there, click on the orange “Update” button found on the left side of the screen. If all goes well, it will begin installing the update for you on your Sony camera.
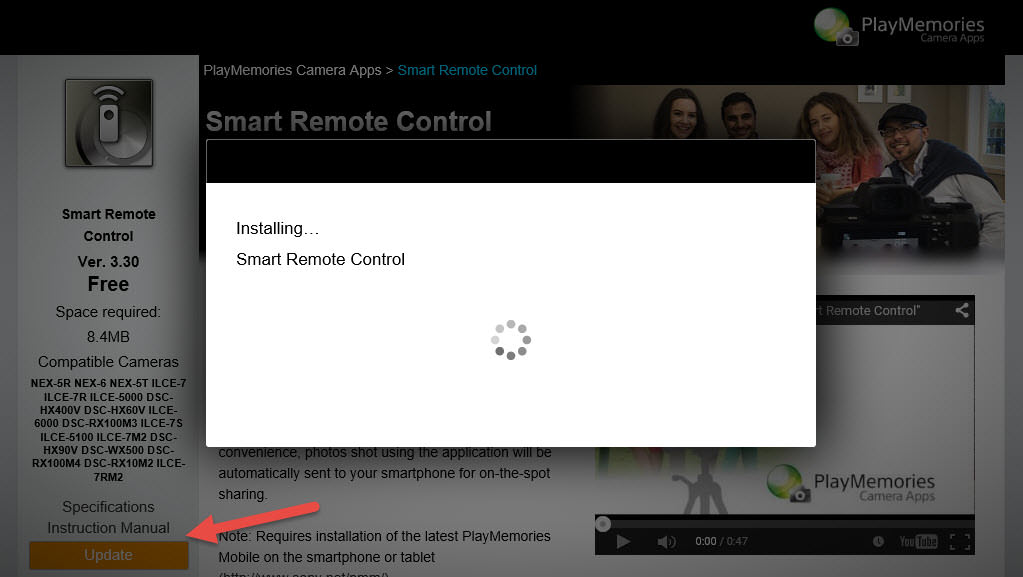
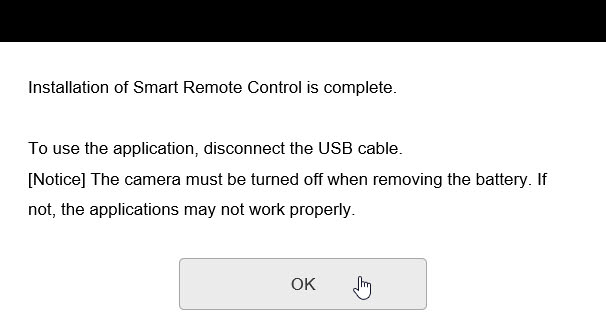
11. Once it is done, a window should pop up confirming a successful install
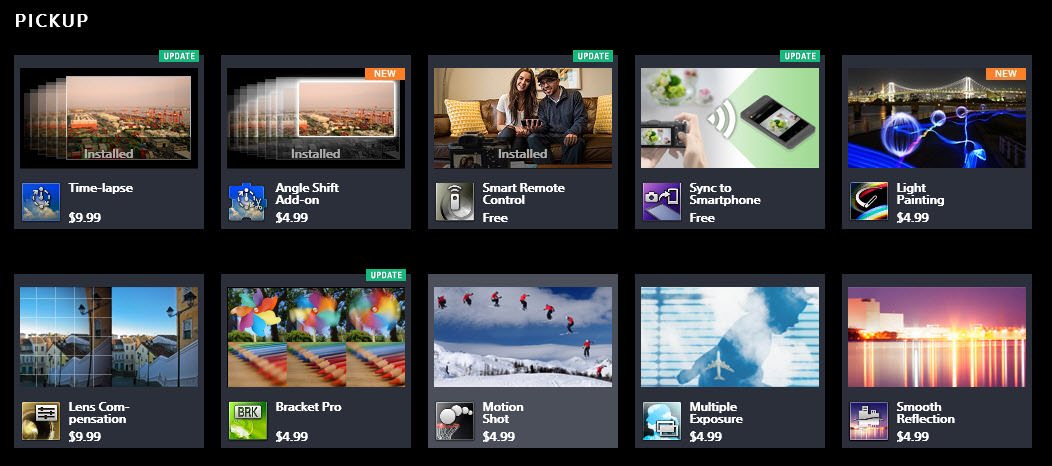
12. If you want to install a new application, click on the “PlayMemories” icon at the top of your screen to return to the home page and then scroll down to find the app you are looking for. Click on the app you want and repeate the above instructions for upgrading an app, but this time you will be looking for the “Install” button.
That’s It!
There you have it! While these 12 steps might look long on this blog post, they really take seconds each. This little trick should help you save a ton of time when it comes to getting any new cameras ready to go right away, such as the Sony a7rII that many of you might be getting in the mail next week 🙂
For those looking to pick up some apps for the first time, I highly recommend the following: time-lapse, Angle Shift Add-on (for time-lapse) and Touchless Shutter to start.

