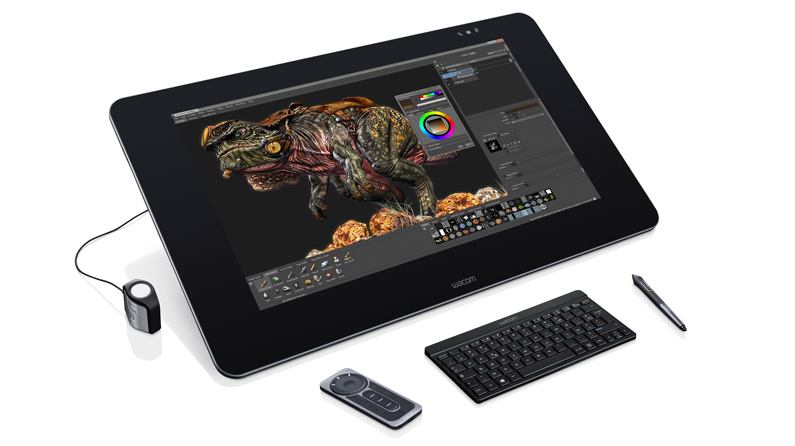
When it comes to choosing the right kind of monitor as a photographer, there are literally hundreds of options out there. From TFT displays to IPS, 1080p to 4k, matte to glossy and much more, all at a variety of different price points. But regardless of these options, many photographers treat choosing a display to edit their work on lightly. They are willing to spend thousands of dollars on cameras and lenses to help them produce the best images possible, only to cheap out on picking a monitor that isn’t very color accurate, bright or sharp.
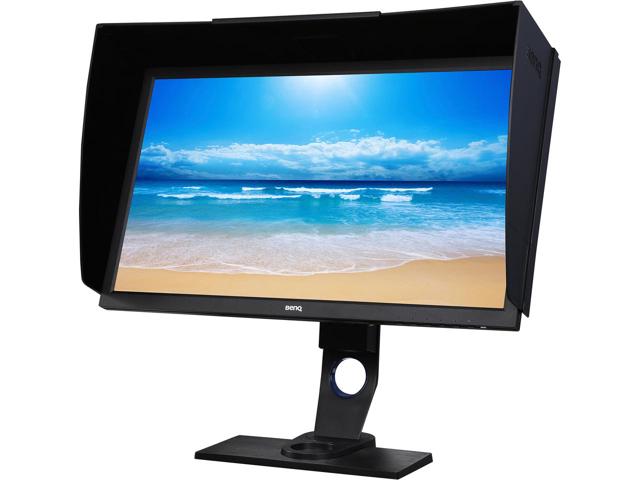
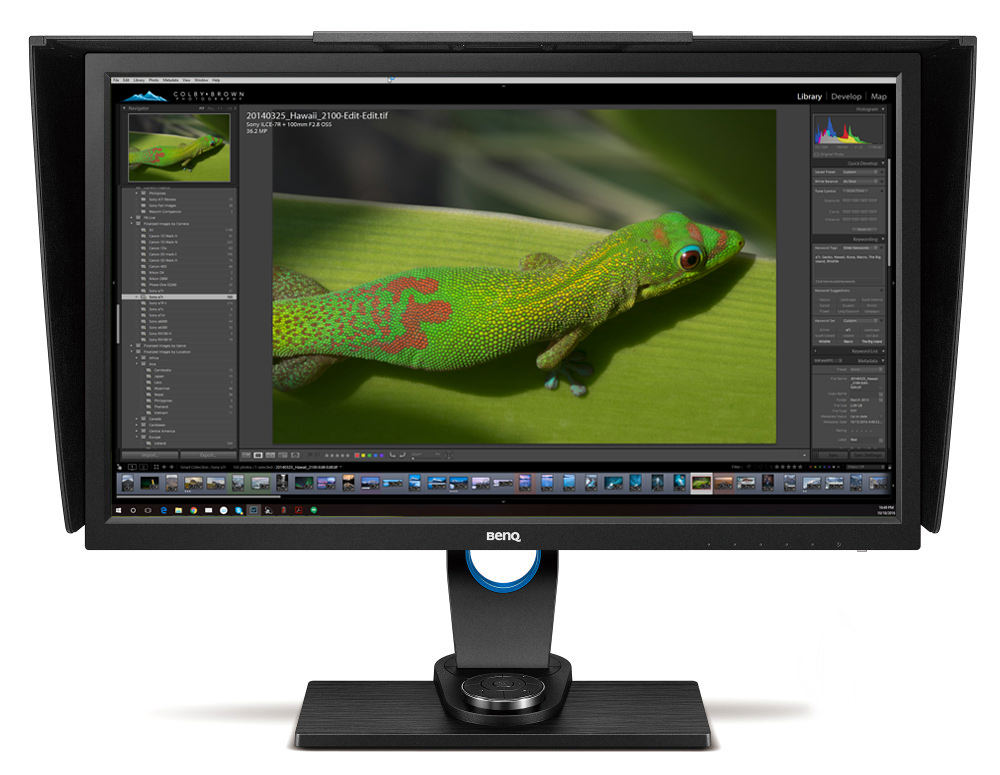
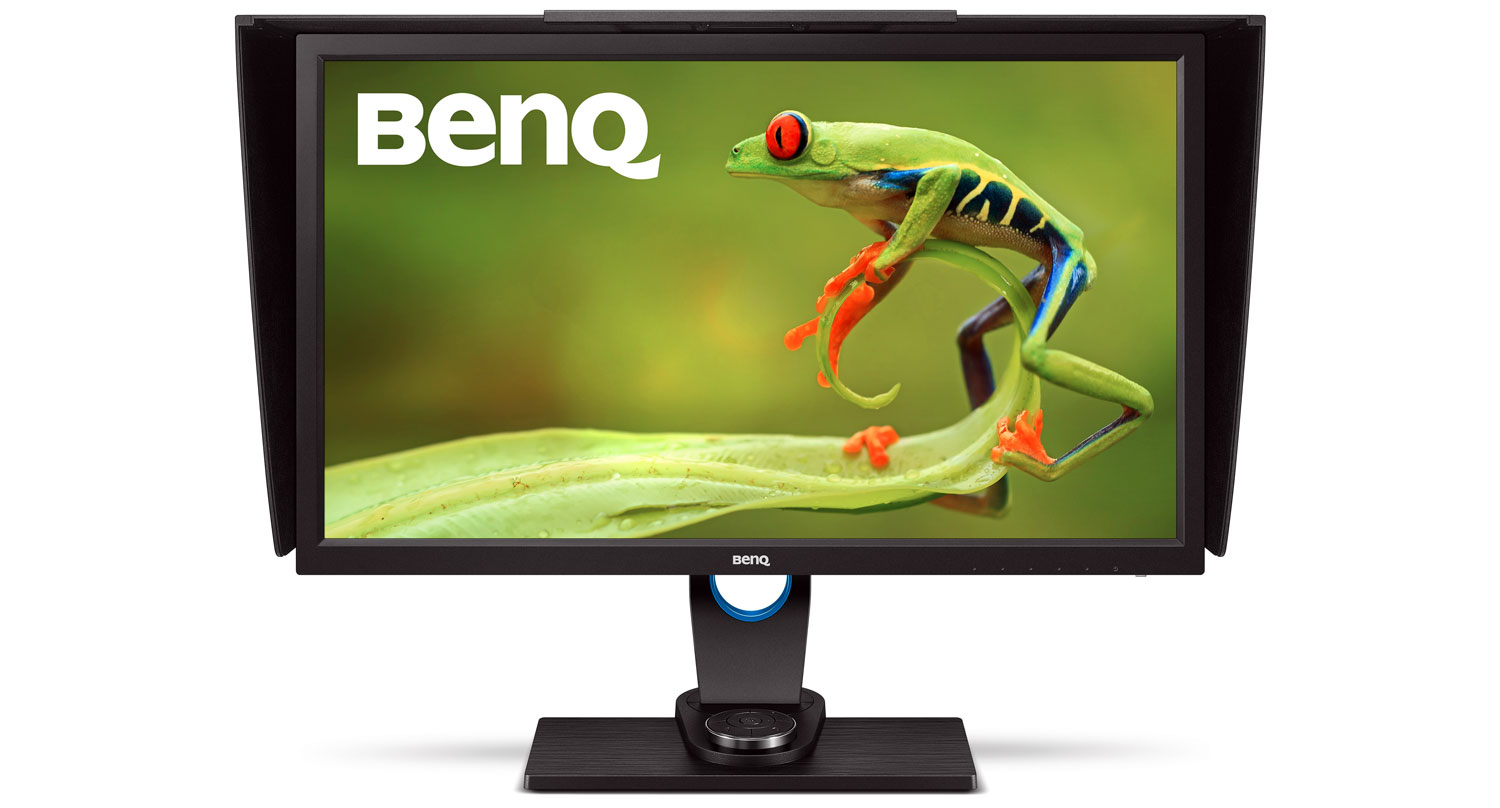
Luckily, this doesn’t have to be the case. As photography has drastically increased in popularity over the years, companies such as ASUS, Dell and BenQ have begun producing high-quality wide gamut displays that are literally built with photographers in mind. Monitors such as the BenQ SW2700PT offer thin high-resolution displays (2560×1440) that cover close to 100% of the Adobe1998 and sRGB color spectrum while being able to display billions of colors and offer extra features such as built-in SD card readers. Needless to say, alot has changed since the clunky big CFT box monitors that were everywhere 10 years ago!
So are these new displays like the SW2700PT worth justifying their higher price tag? Lets find out!
Specs
- Product Color: Black
- LCD Size: 27″
- Aspect Ratio: 16:9
- Resolution: 2560×1440
- Brightness: 350 cd/m2
- Native Contrast: 1000:1
- DCR (Dynamic Contrast Ratio): 20m:1
- Panel Type: AHVA (IPS)
- Viewing Angle: 178 /178
- Response Time: 12ms, 5ms (GtG)
- Display Colors: 1.07 Billion
- Color Gamut: AdobeRGB 99%
- Input/Output Connectors: DVI-DL+ HDMI 1.4 + DP1.2 + Headphone Jack
- Dimensions: H:566.7 x 652.8 x 322.8 – L:445.2 x 652.8 x 322.8
- Net Weight: 8.3kg (without hood)
- Gross Weight: 11.88kg
- VESA Wall Mounting: 100x100mm
- USB Hub: USB 3.0 (Downstream x 2 (side), Upstream x1)
- Other Features: Palette Master Element Software/ 14 bits 3D LUT / HW calibration / Delta E≤2 (avg) /Black and White mode/ Black Level/ Card reader
- MSRP: $599
Unboxing
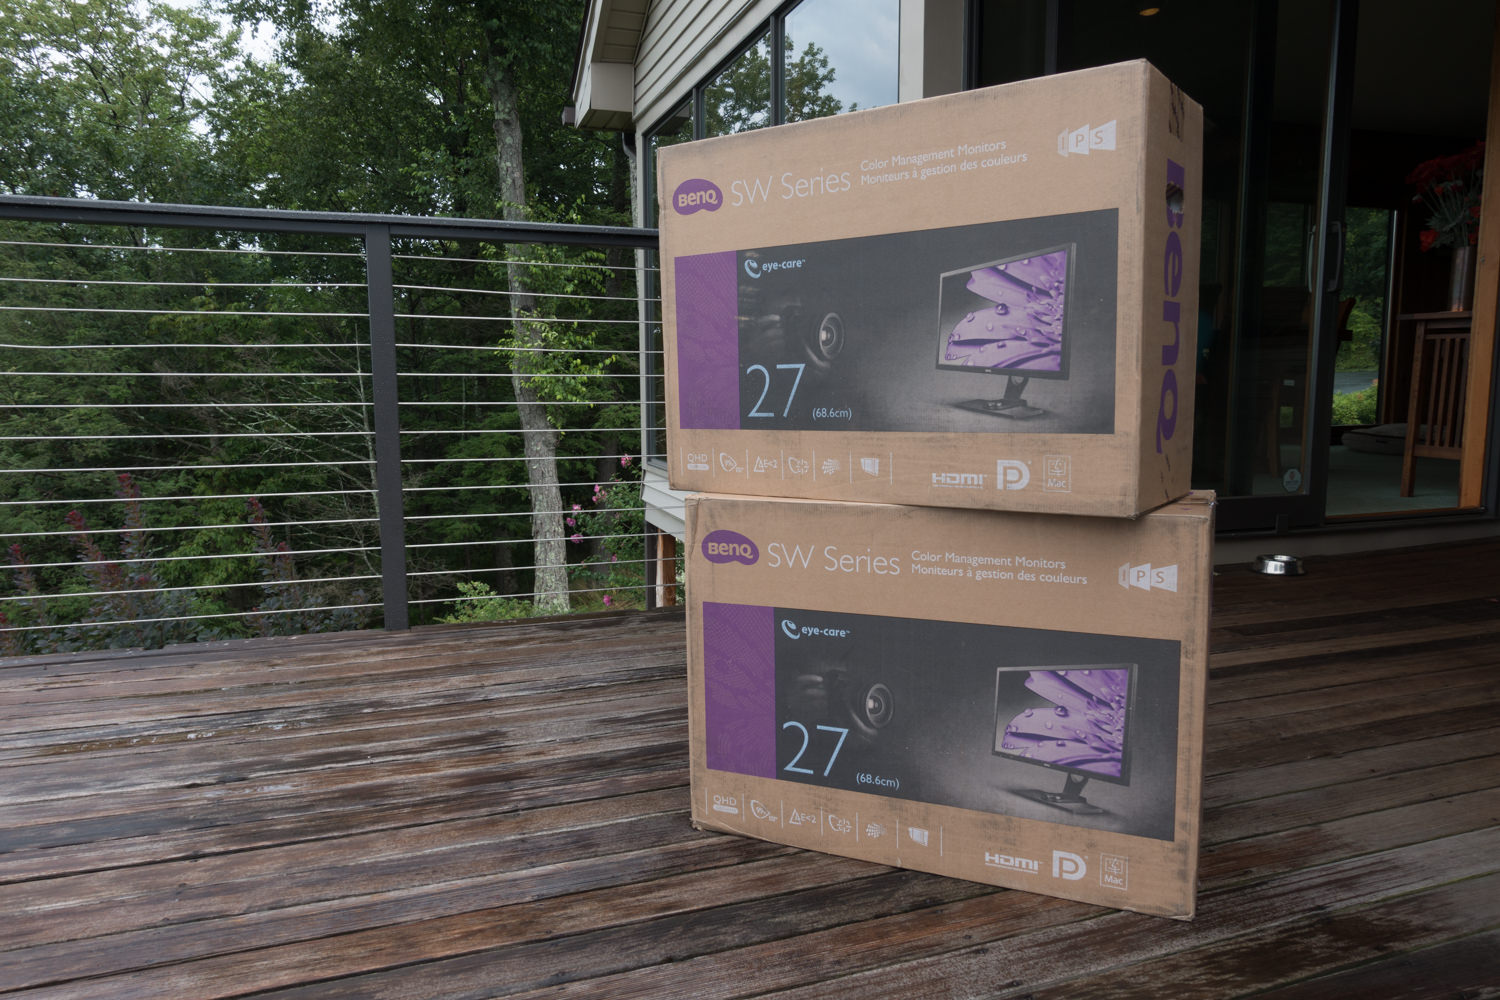
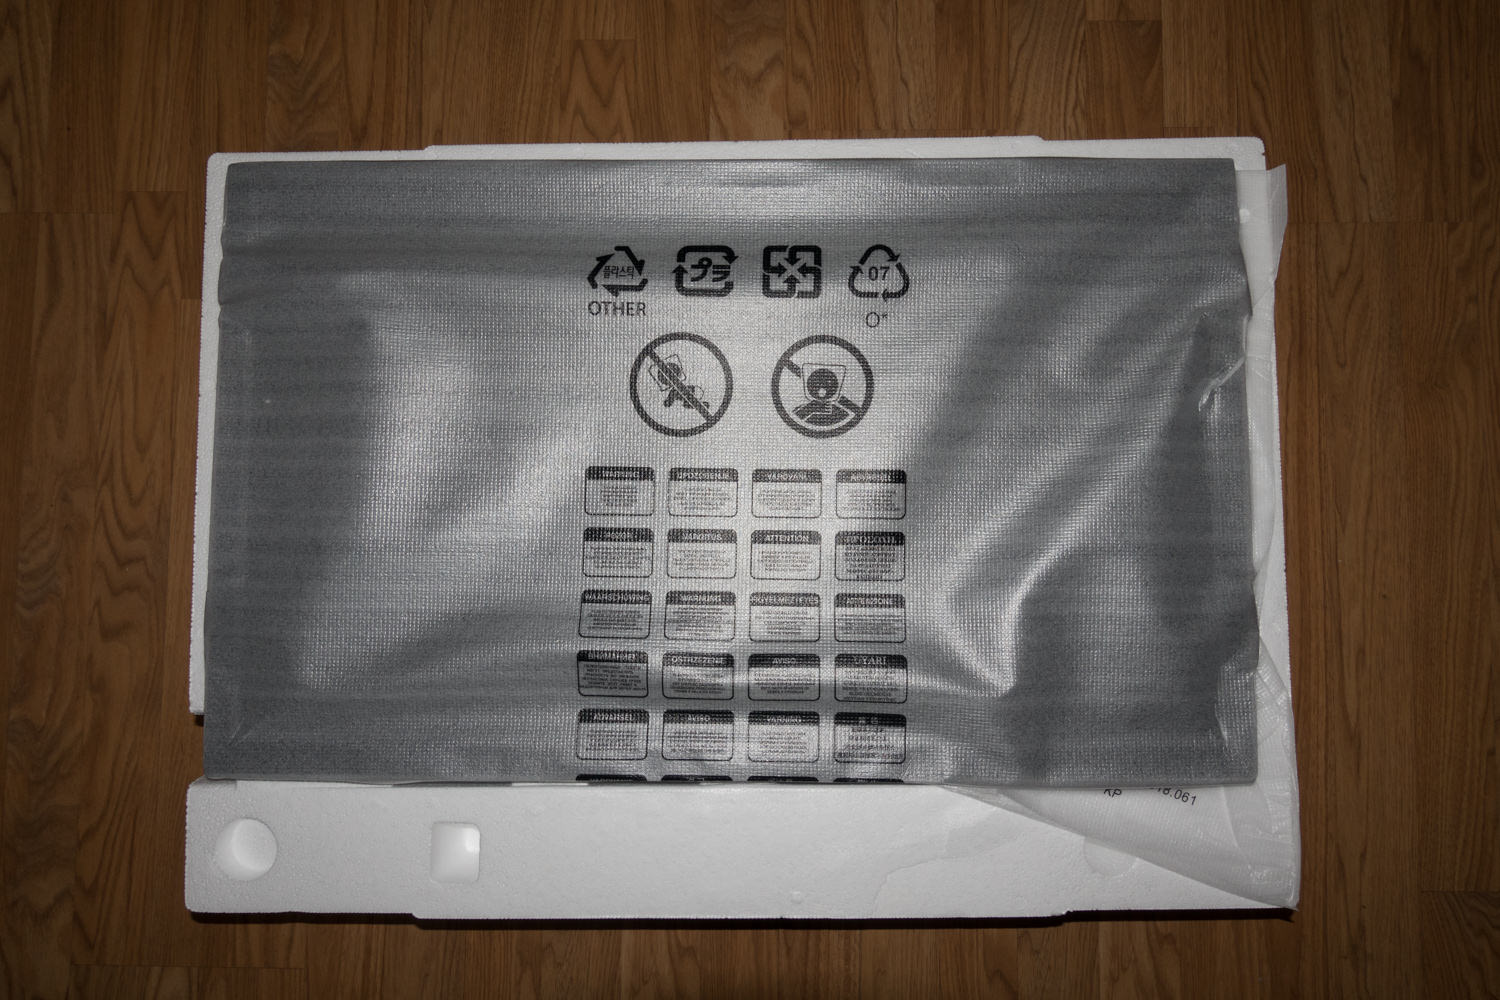
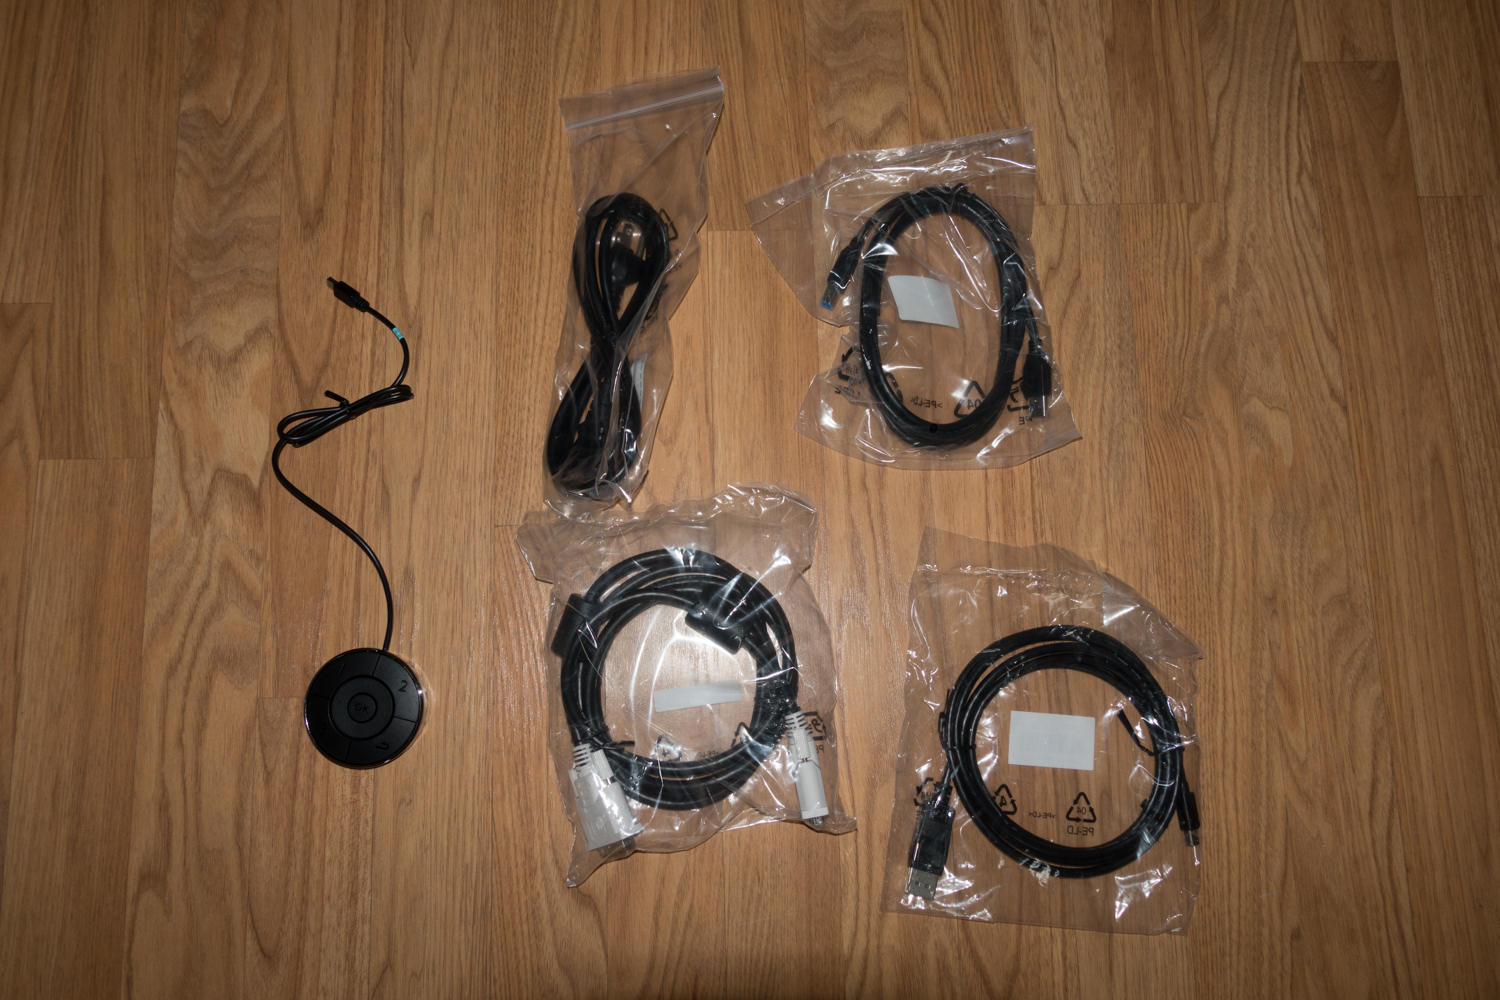
While it probably isn’t a surprise, the BenQ SW2700PT monitors have pretty standard display boxes and packaging. The monitors themselves are well protected with styrofoam and static free bags. Inside the boxes, you will not only find a small manual but information on the displays color accuracy and color calibration options you have. In addition, you will find all of the necessary cords and wires (DVI-DL, HDMI 1.4, DisplayPort 1.2, AC Power Cord) but also a shading hood and the OSD Controller for quick switching between color profiles that I will talk about in more detail later in the review.
Build Quality/Design
Overall the build quality of these monitors are pretty nice. While I will save my comments on the actual display for the next section of this review, the monitors themselves look and feel solid. On the sides and top of the monitor, you will find connection points for the Shading Hood (a nice touch if you happen to have glaring overhead or side lighting in your office or room.
On the bottom of the display, you will find six different buttons (including a power bottom) to help you adjust and move around the BenQ menu system. While that sounds like a lot of buttons, I actually found navigating the menu system to be much easier and better laid out than my previous ASUS Pro Art 27″ QHD displays.
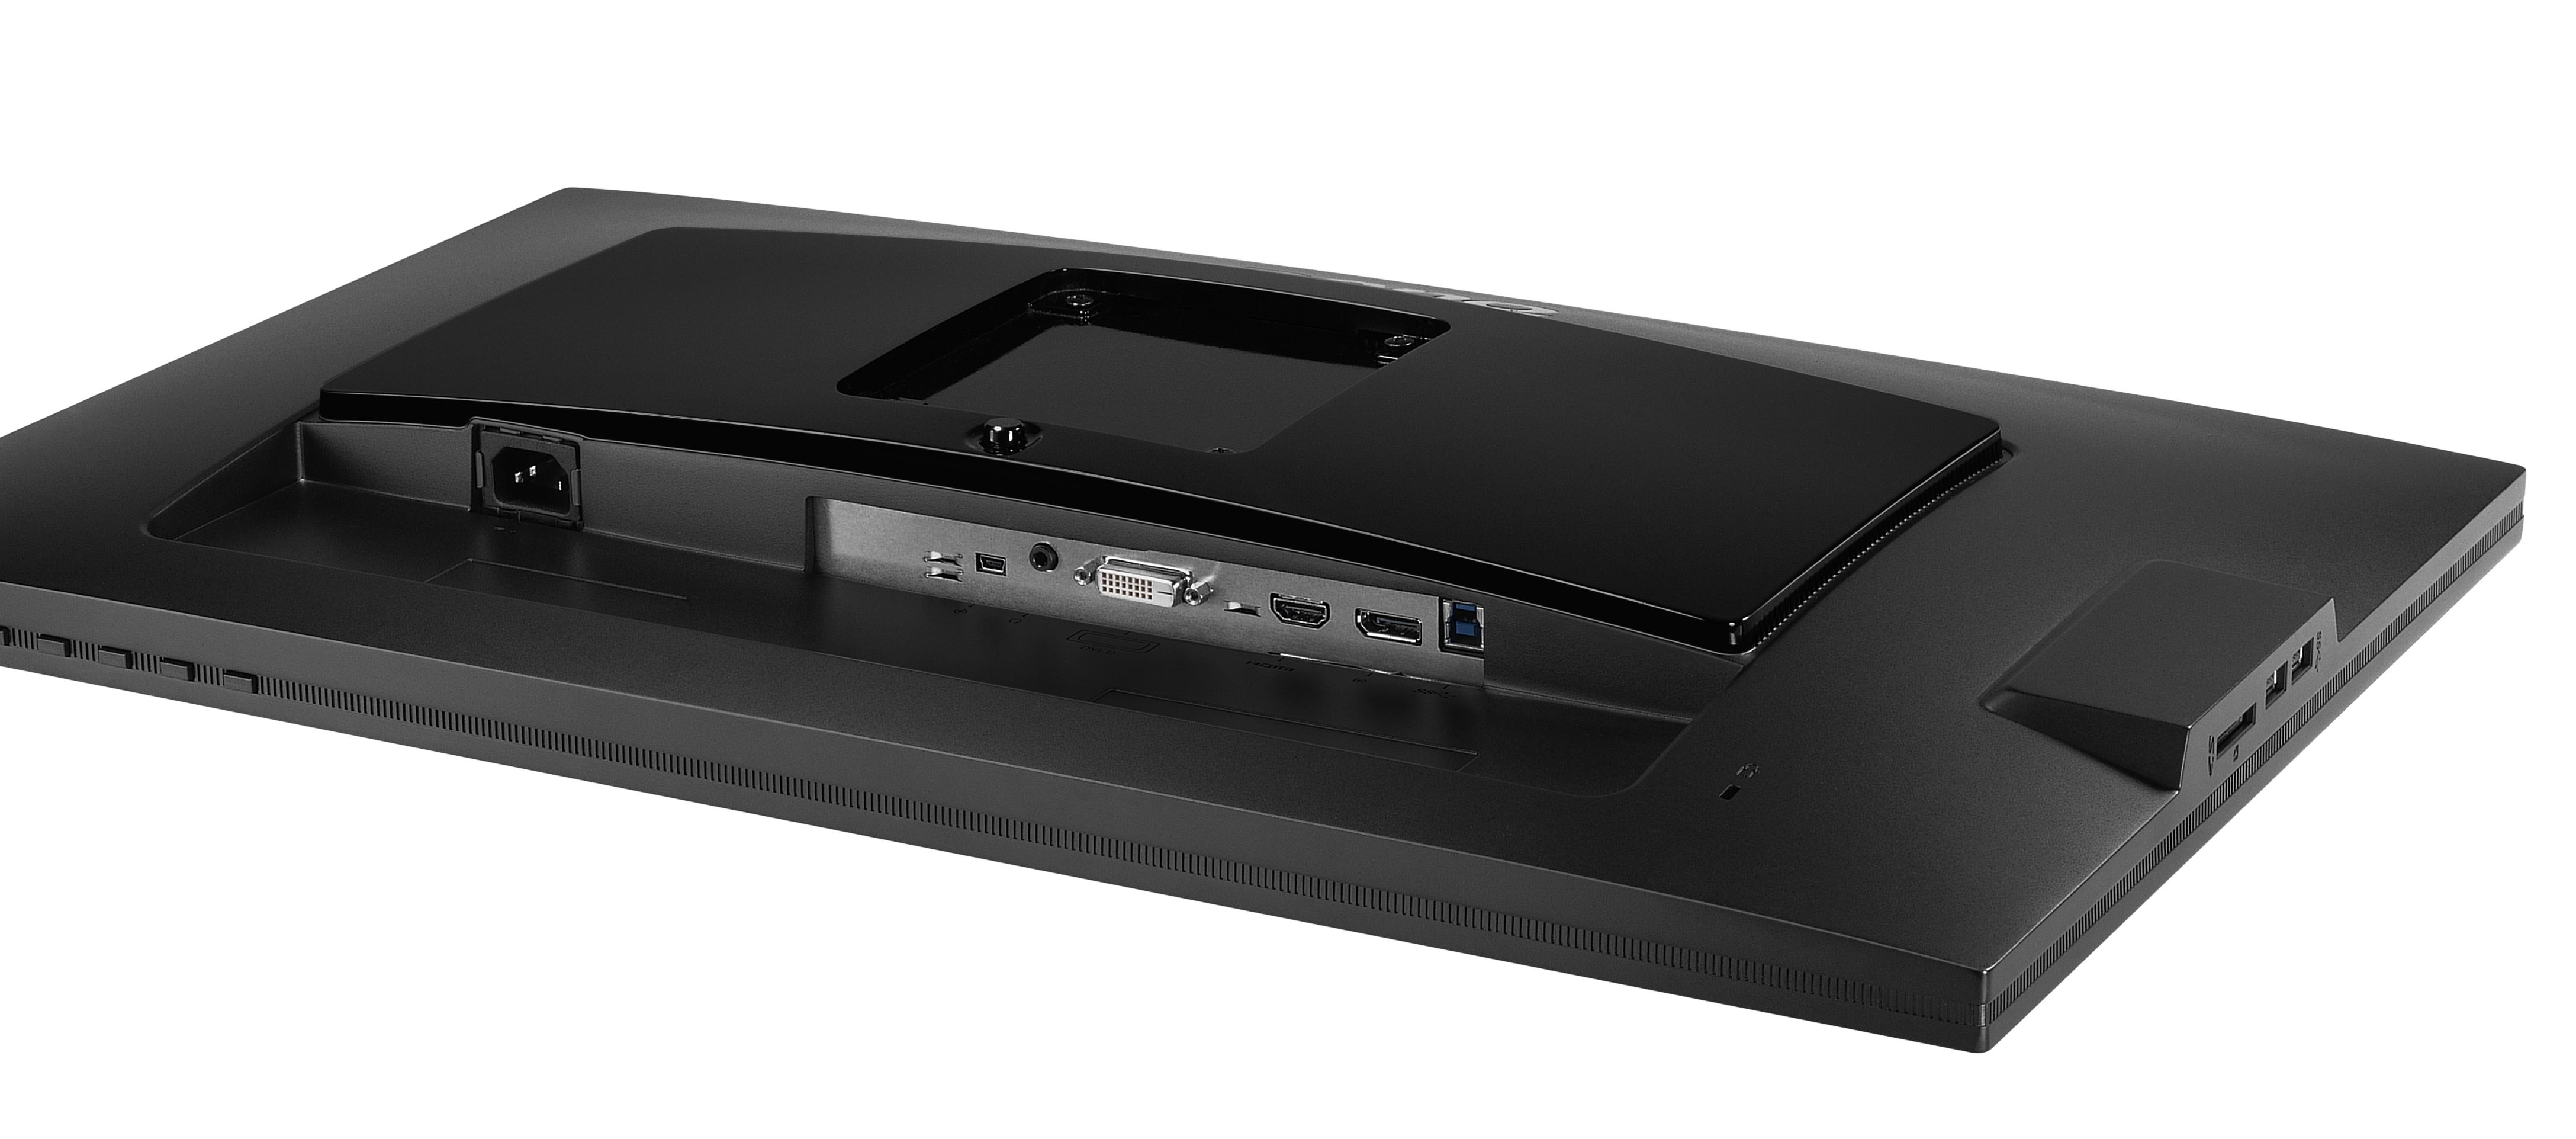
On the back of the SW2700PT, you will find most of your port connection options. This includes Outputs: USB 3.0 (to your desktop/laptop), HDMI, DVI-DL, DisplayPort 1.2, a headphone jack and a micro USB port for the OSD controller. On the left side of the monitor, you will find two USB 3.0 ports and an SD card reader that supports SD/SDHC/SDXC, MMC, Memory Stick/Memory Stick Pro and MS Duo/MS-Pro Duo. This is a really nice touch if your desktop or lapto doesn’t currently have an SD card reader bult in.
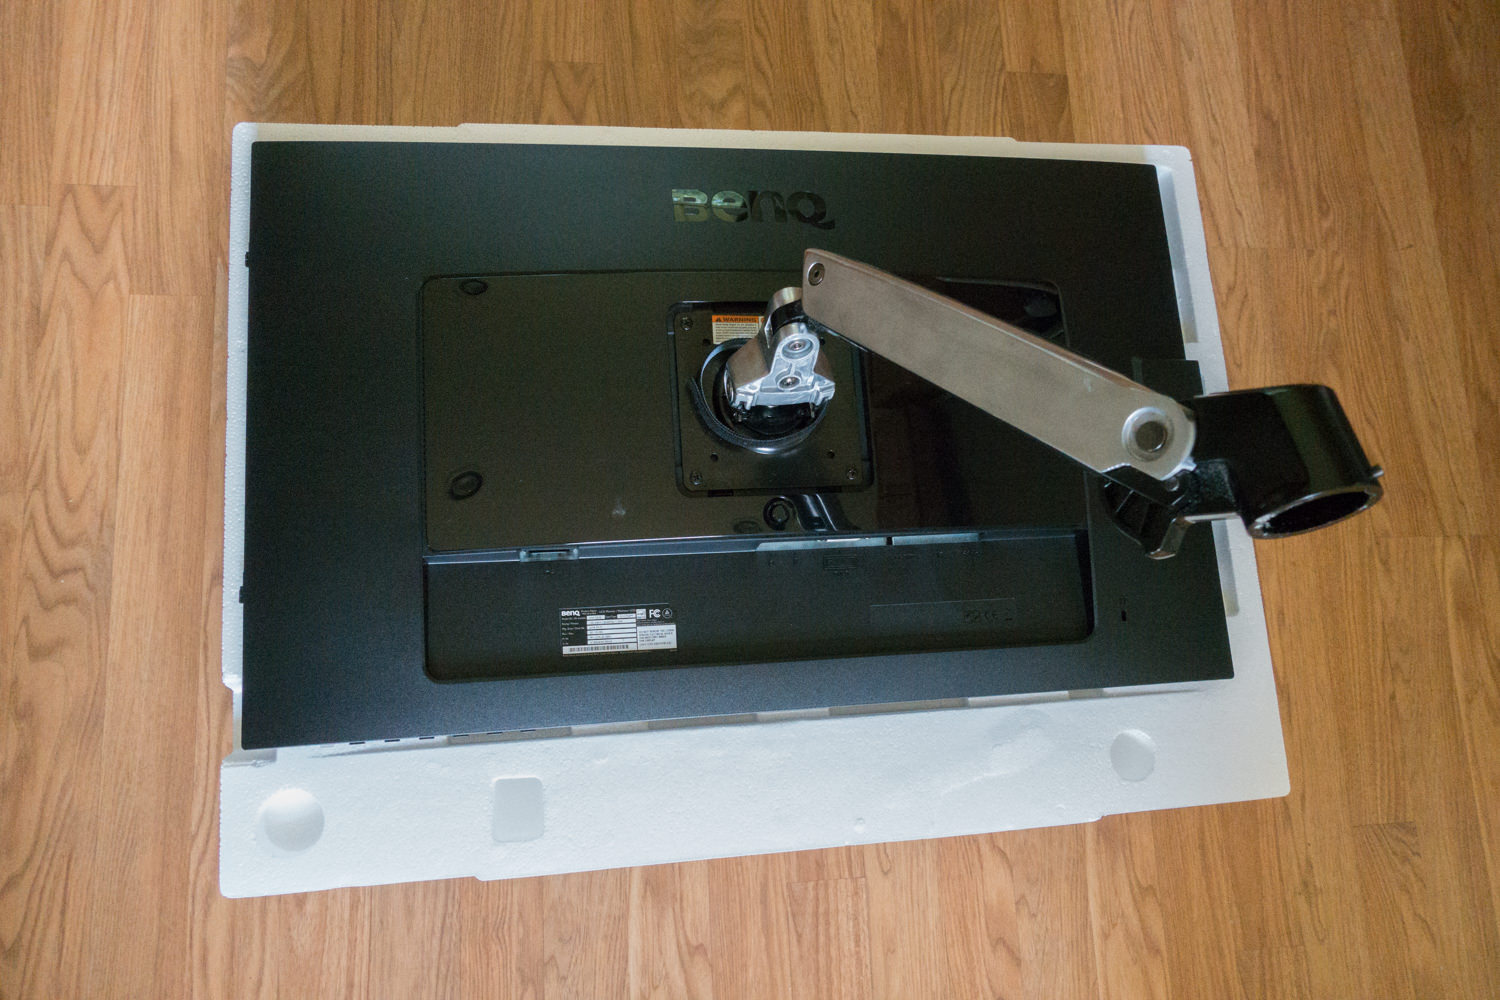
The rear of the monitor has a 100mm x 100mm VESA mount that is perfect to mount the monitor to a wall, or in my case an Ergotron arm which I will talk about a bit more about in a few minutes.
A Display Built For Photographers?
Now when it comes to being a photographer, there are a number of things that are should be important when it comes to choosing the right kind of display. Color Range, Color Depth, Resolution, Display Panel Type, Color Accuracy and Color Management come to mind. Fortunately for the SW2700PT, it doesn’t disappoint on any of these accounts.
Color Range
This equates to the overall range of colors that the monitor is capable of displaying. The most common metric used for determining this is what percentage of the sRGB and Adobe1998 color space is offered on a display. sRGB represents nearly all web browsers (essentially anything found on the internet) and most mobile devices while the larger Adobe1998 color space is more commonly associated with the physical act of printing high-quality vivid images. Most standard monitors and mobile devices hover in the 70% range for either, but wide gamut displays such as the SW2700PT offer a much wider color range.
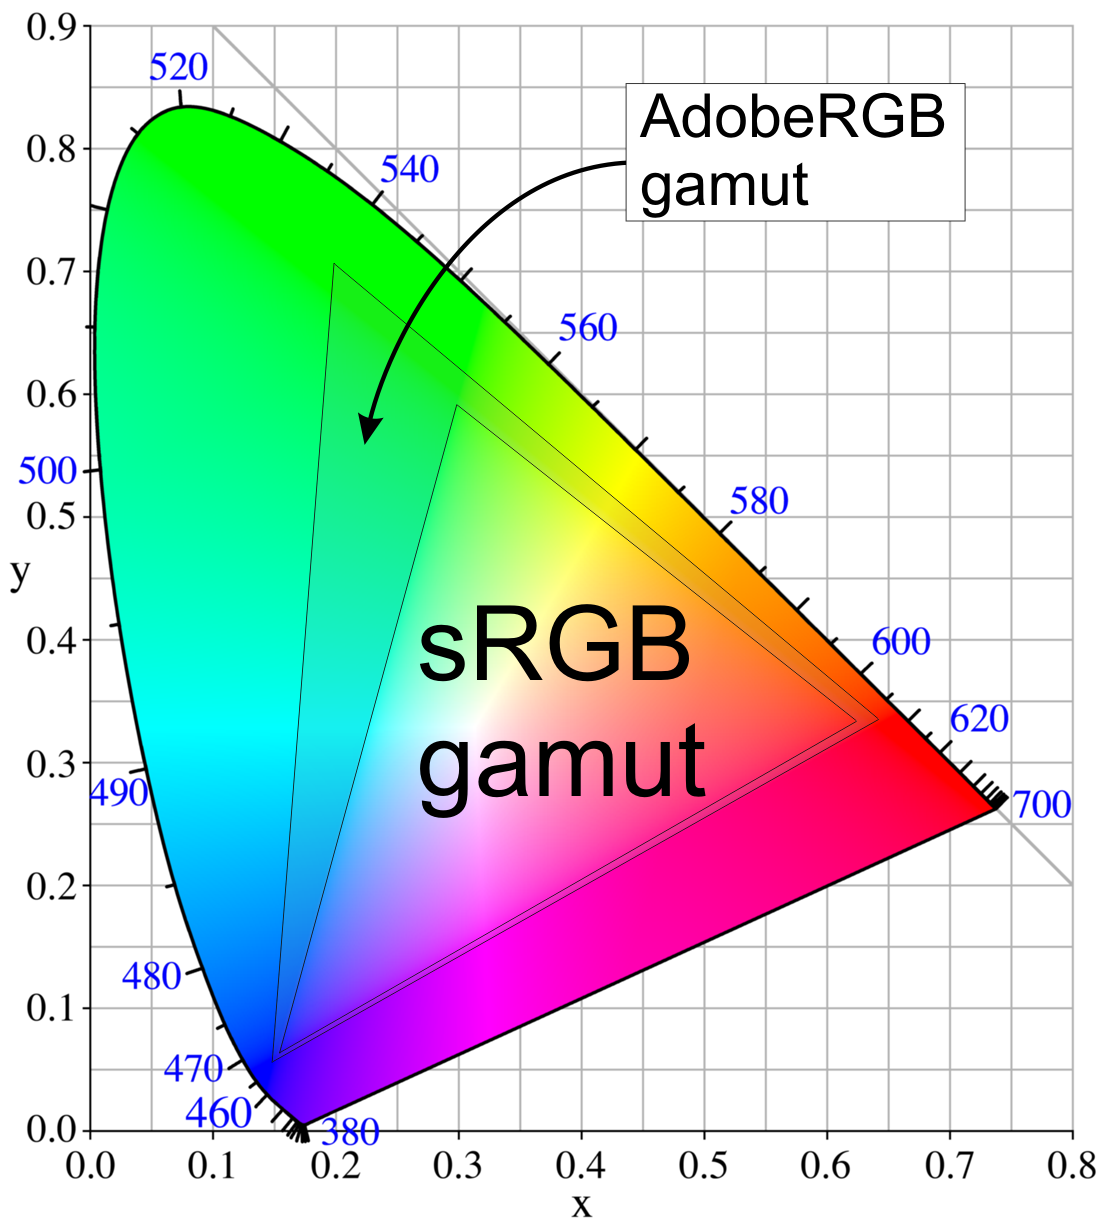
With this display, you get 100% of the sRGB range and 99% of Adobe1998. This is impressive no matter how you slice it!
Color Depth
If you think of the Color Range of a monitor as consisting of the total spectrum of color that can be displayed, the color depth represents how many different gradients and tones of each of those colors can accurately appear on the screen.
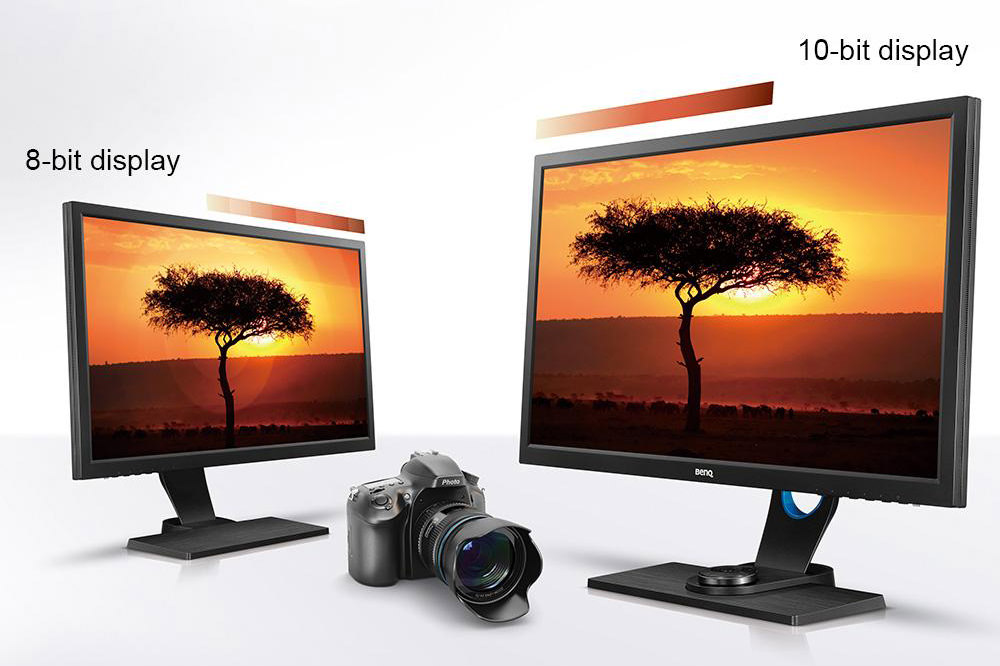
The SW2700PT is a 10-bit display which means that it can produce over 1 billion colors. Most displays on the market only offer 8-bit specs, so you can expect color gradients (like the ones you would find in a photo of the sky at sunset) to be much smoother and less pixelated.
Resolution
By now, I feel most people understand how resolution works on a display. The higher the resolution, the sharper the display is, meaning that text and details look more crisp, sharp and accurate…rather than pixelated. However, the size of the display also plays a big role. With the SW2700PT you get a 27″ display, which is quite large for a desktop monitor. Up until fairly recently, most photographers choose not to buy 27″ displays because they only offered 1080p resolutions, also known as full HD. While this resolution was fine for a TV that was 10-12ft away from your couch as you watched movies, it didn’t look as good on a 27″ display that was just a few feet from your eyes.
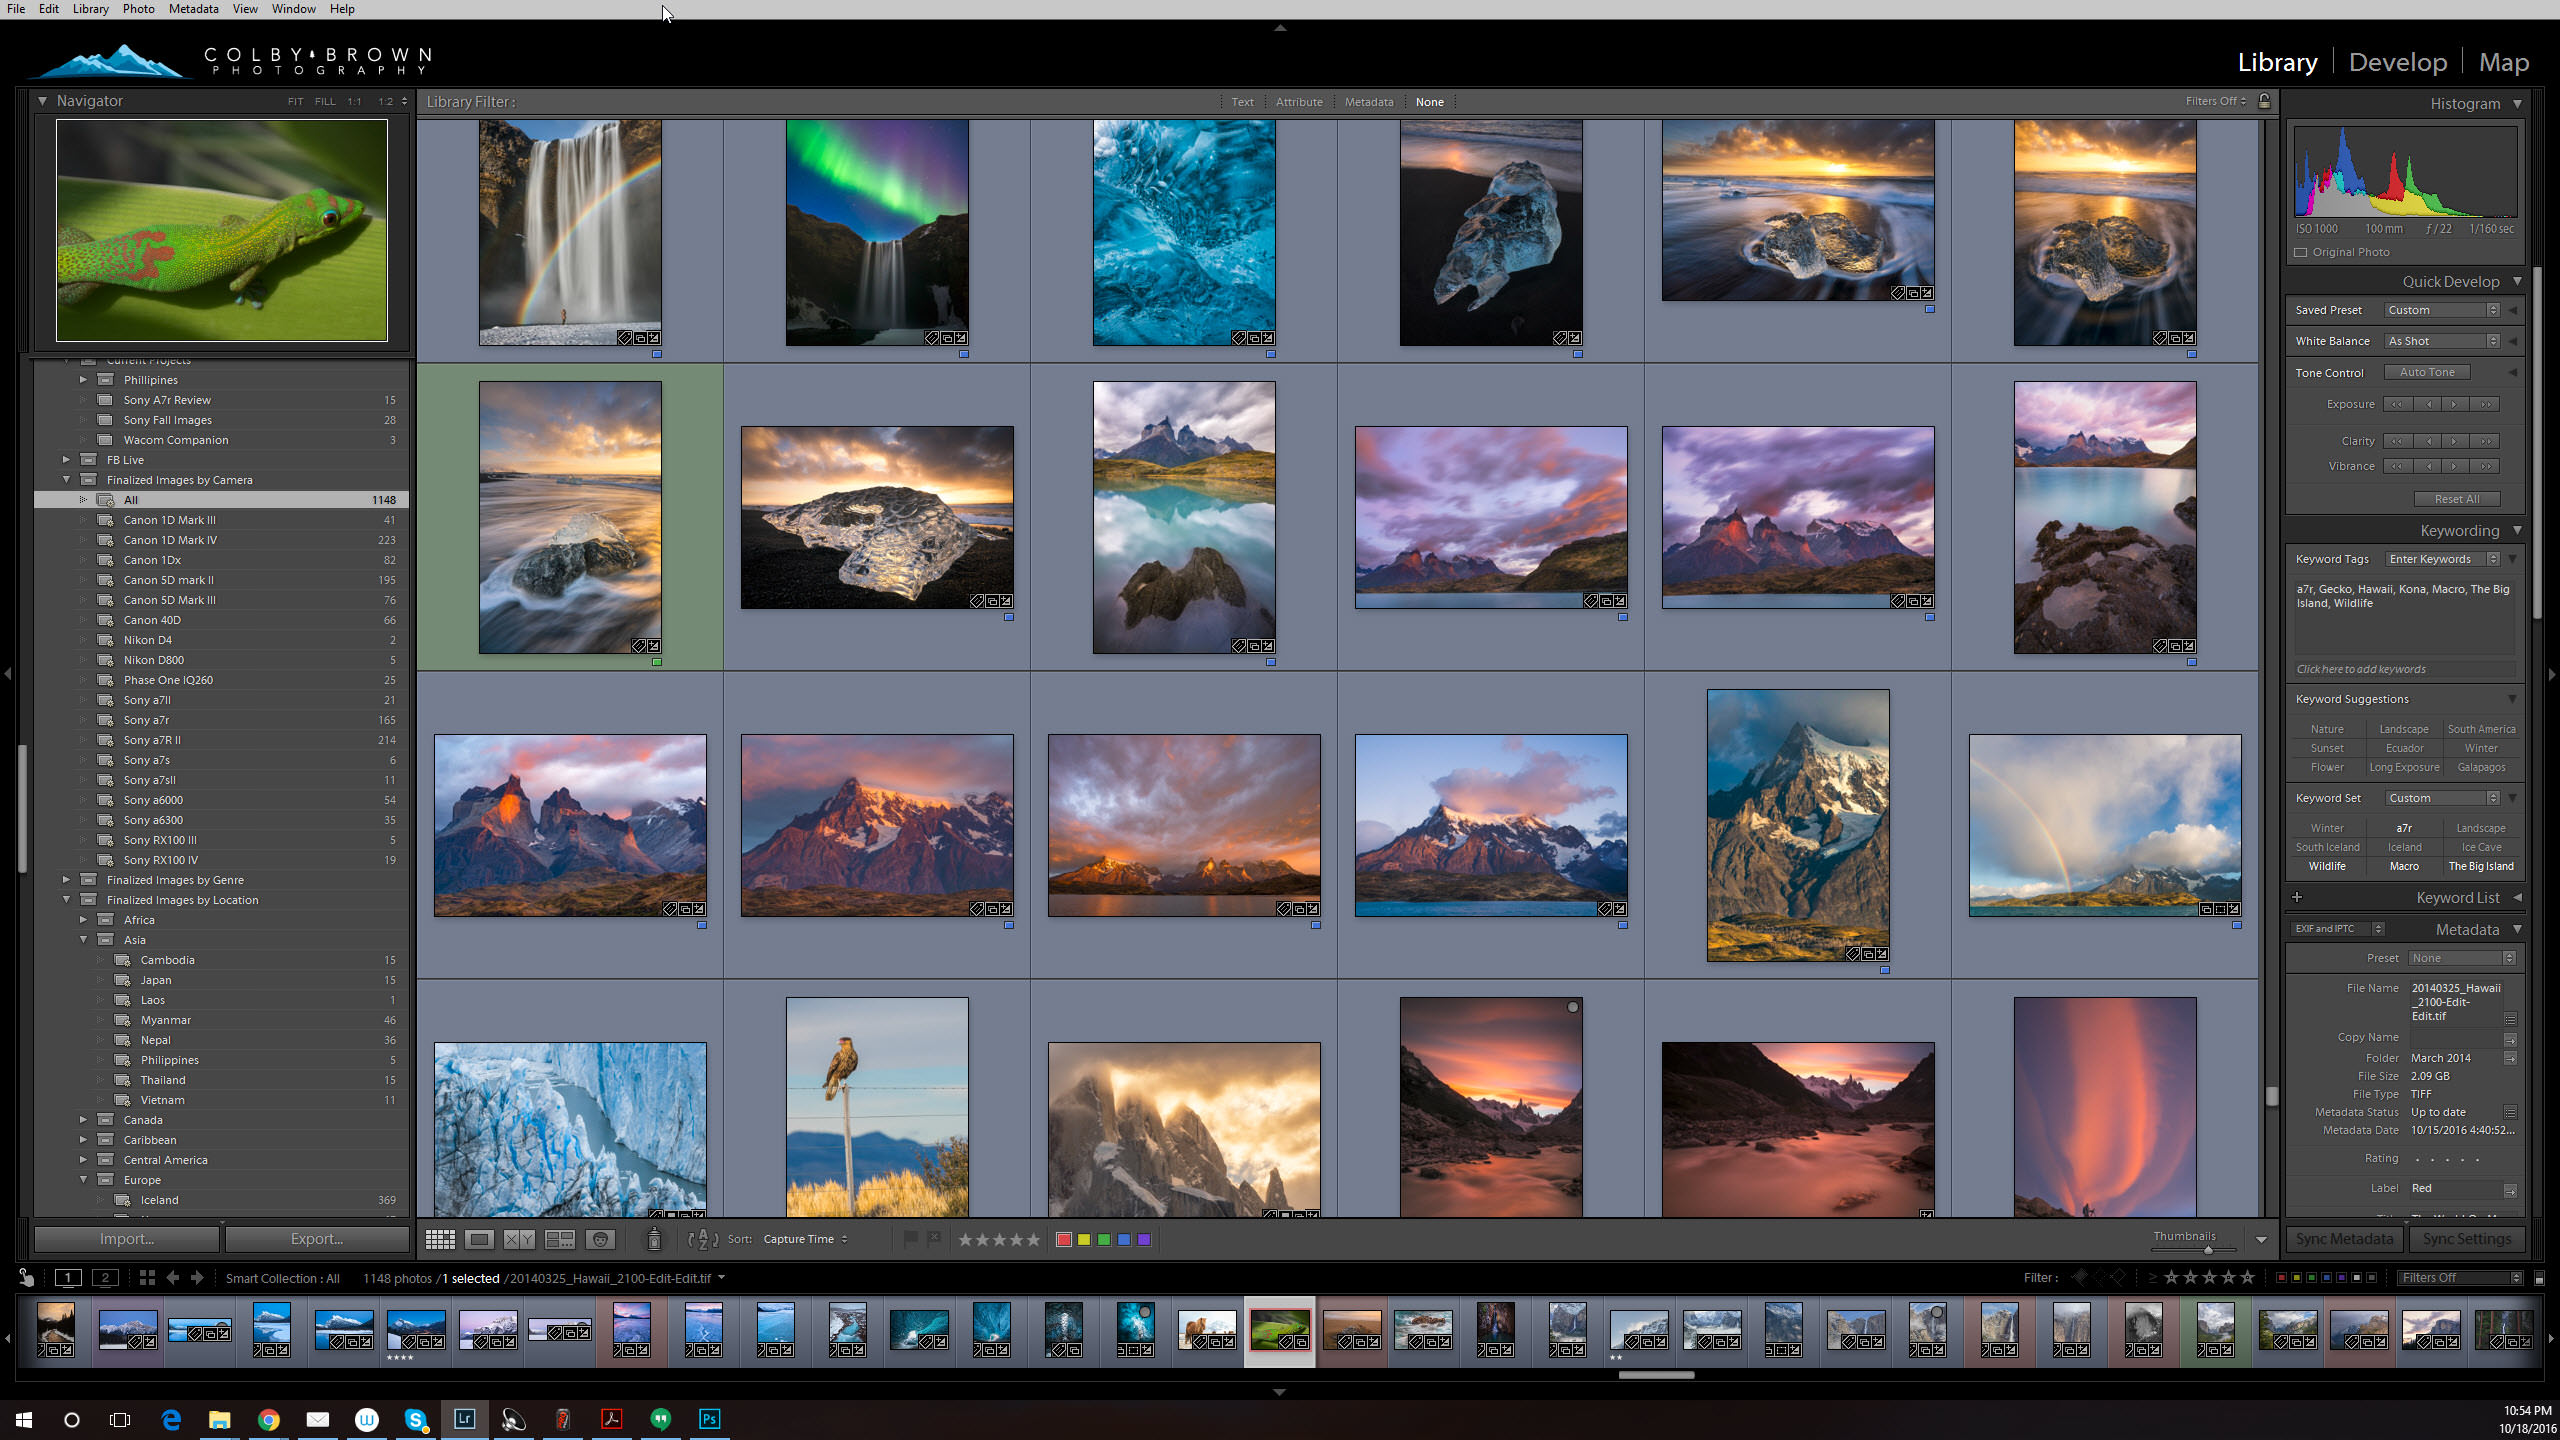
Now with the SW2700PT, you get a QHD display that has a significantly higher resolution, 2560 x 1440 vs. 1920 x 1080. The result is a high-quality tac-sharp monitor that displays text that is crisp and sharp while fine details from images pop off the screen. Overall you get an impressive 109 pixel per inch (PPI).
Display Panel Type
When it comes to displays for photographers, one key factor is making sure that it has great viewing angles. Why? Because a monitor with poor viewing angles could show a drastic shift in both contrast and color saturation depending on the angle you are viewing the display at. Look directly at it a cheap monitor and it could be gorgeous, but turn your head or have your display slightly off center and the quality could drop rather quickly. Luckily the SW2700PT is an IPS display. What’s that?
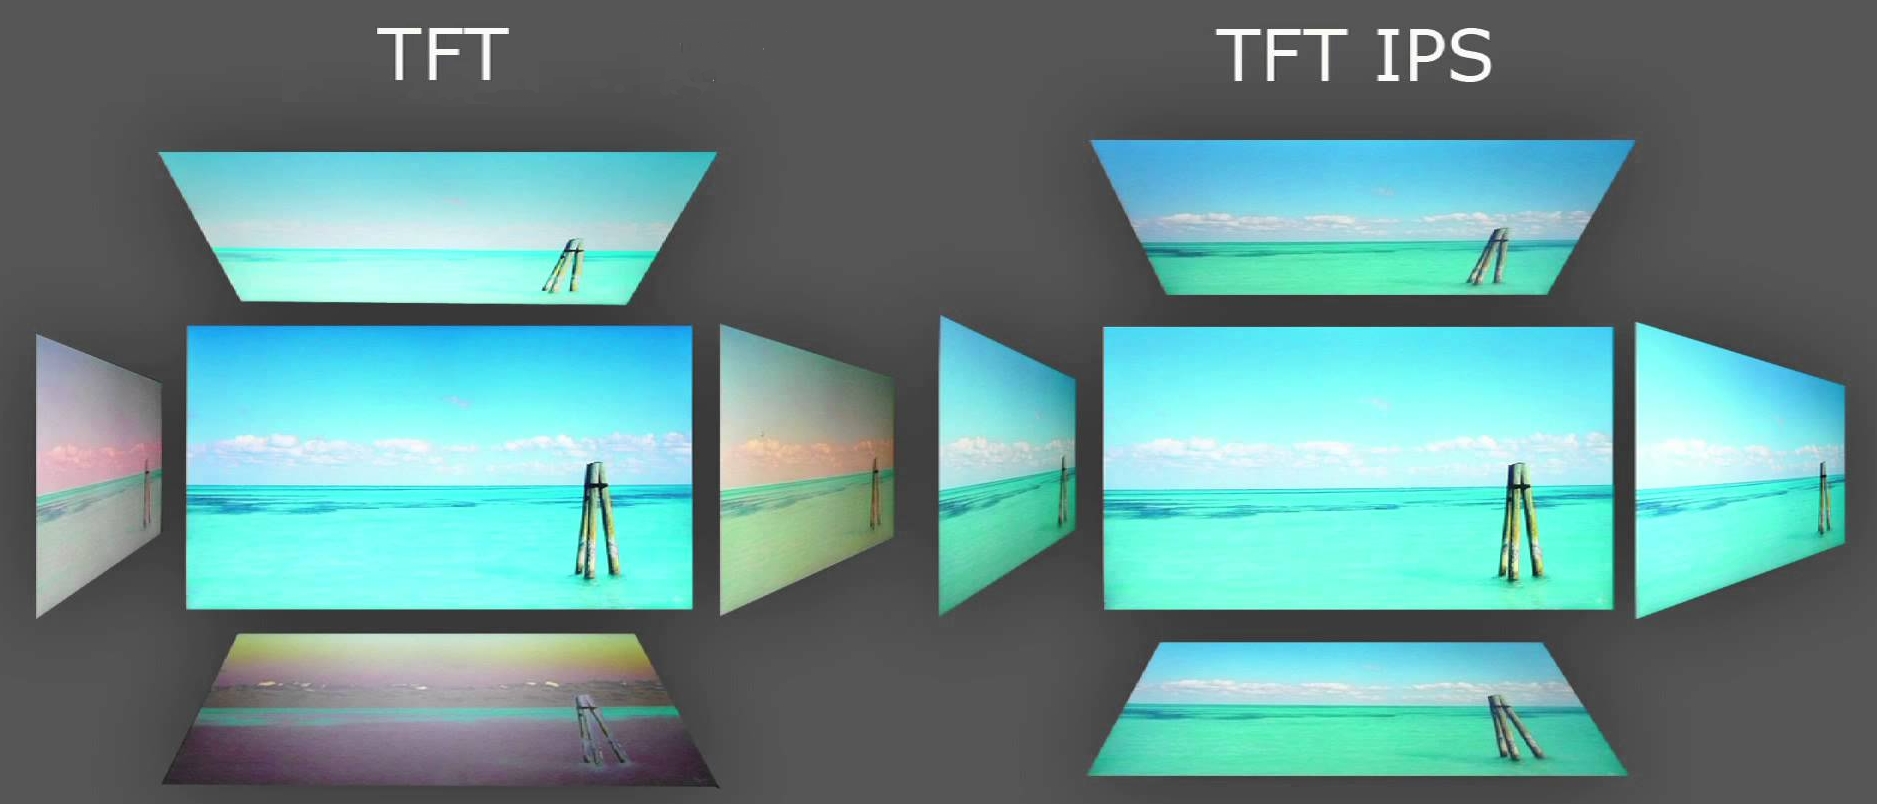
It stands for In-plane Switching and represents an LCD technology that helps provide better viewing angles so your screen doesn’t show significant contrast and color shifts depending on the angle you are viewing it from. With this monitor, you get 178 degrees by 178 degrees. Needless to say, I was hard pressed to find a poor viewing angle to view this display from.
Color Accuracy
No photographer wants their display to show colors that aren’t accurate because that would mean the colors you are seeing when editing your photos aren’t truly there. With that in mind, it is safe to say that not all monitors are created equal in this category. Without trying to sound too much like a geek, the SW2700PT has a 14-bit 3D Look Up Table (LUT) that attains a color difference of Delta E<2 in both Adobe RGB and sRGB color spaces. Wow…that was a mouth full. So what does all that jargon mean?
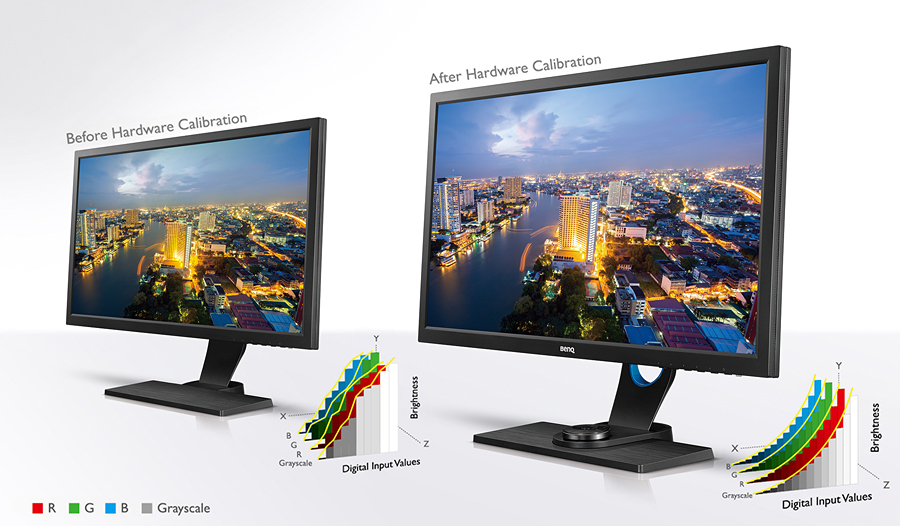
Ultimately this has to with color accuracy, reproduction, and gradation with your display. An inexpensive LCD monitor will employ a LUT table with eight bits per RGB color, while the SW2700PT is offering close to double that. This means that you have millions and millions of optimal colors ready for your viewing pleasure. If you want to learn more about this kind of stuff, check out this in-depth (and geeky) article.
Color Management
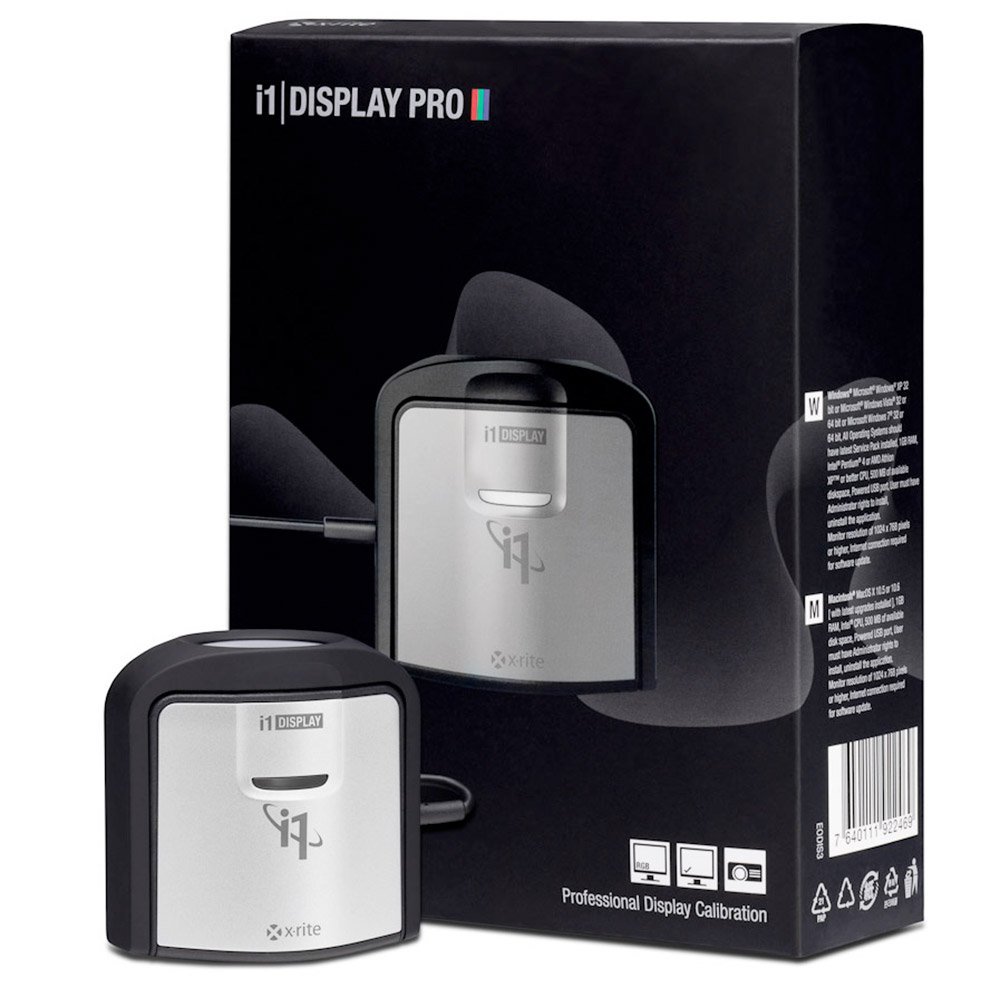
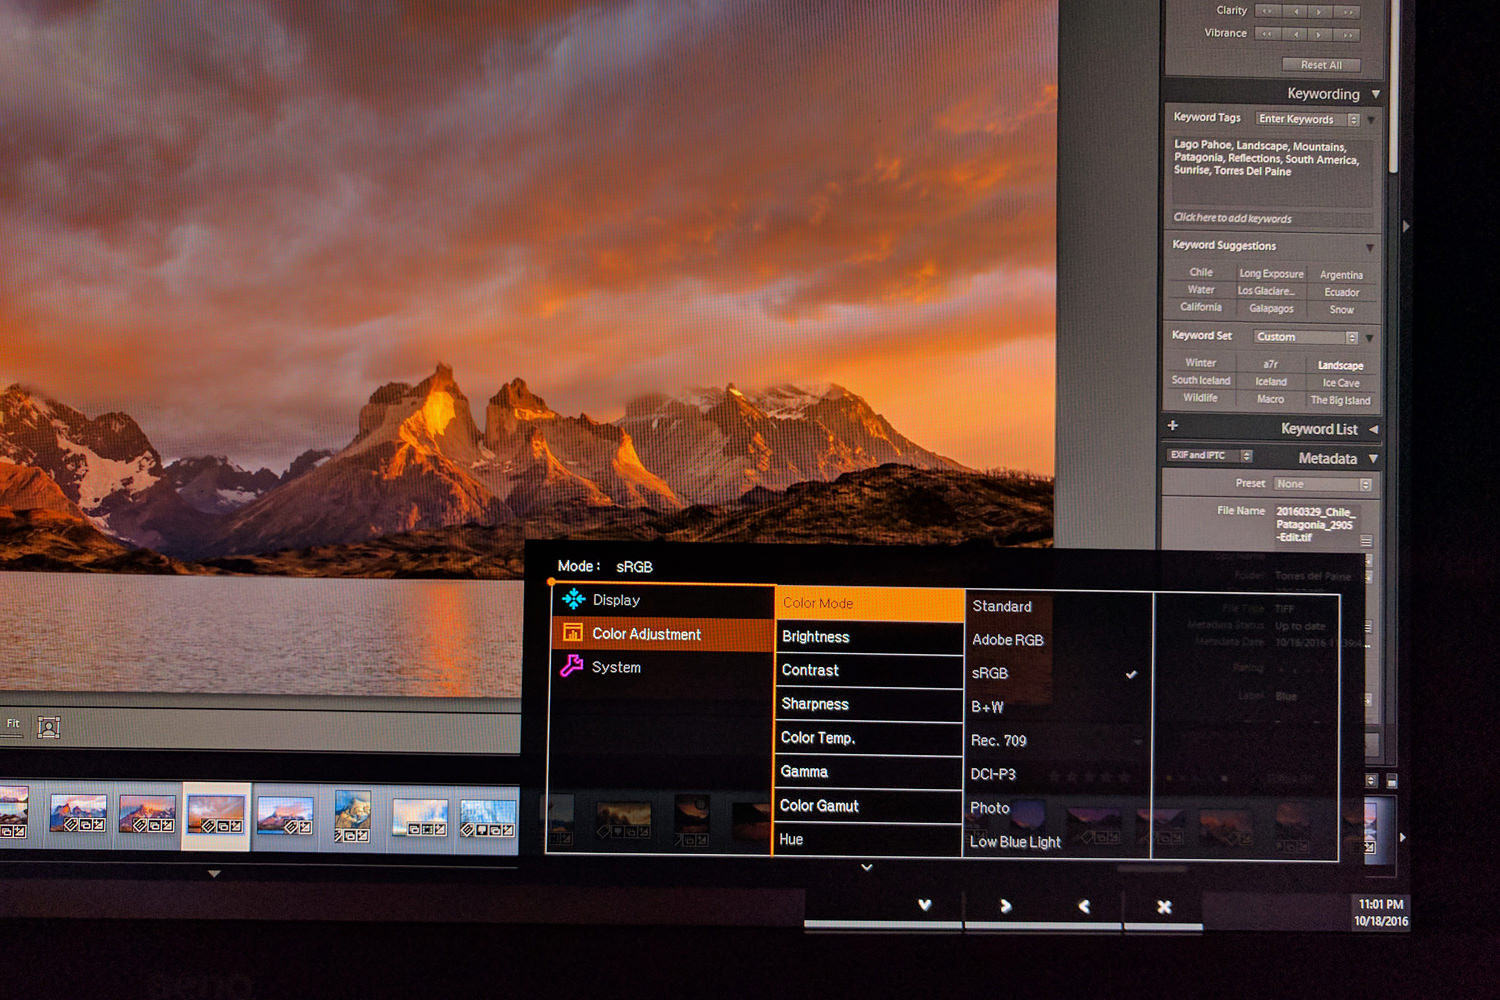
No matter how accurate a display is out of the box, and the SW2700PT is pretty darn accurate, all displays lose their color accuracy over time. This is where “color management” comes into play. While the SW2700PT has a number of preset color profiles you can access from the menu system (Standard, Adobe RGB, sRGB, B+W, Rec. 709, DCI-P3, Photo, Low Blue Light), you will still need to pick up a 3rd party Colorimeter to help you create an accurate color profile for your display that suits your needs. I personally find myself working in the sRGB color space more and more these days, so I need to make sure all three of my monitors are calibrated accurately to that color space.
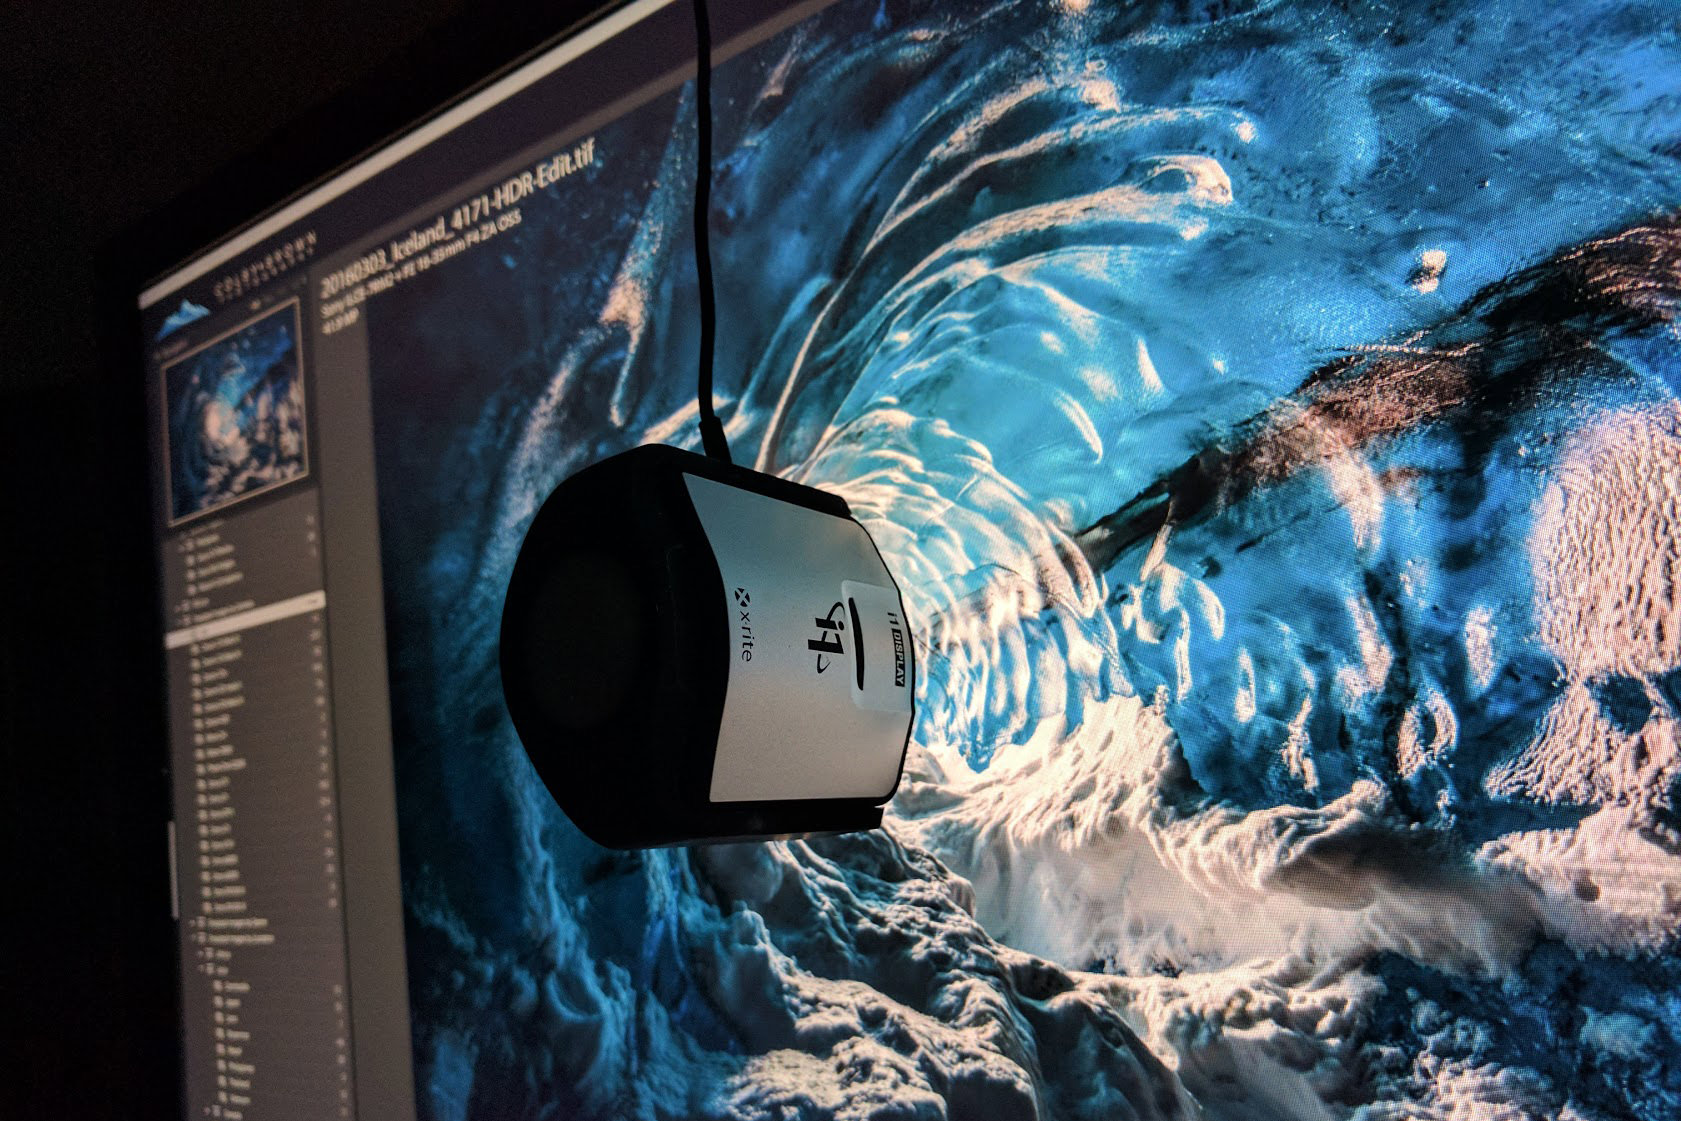
My personal preference is an i1 Display Pro from X-Rite. I have used their products for years and swear by the accuracy of their devices and their color management software.
Things get interesting when you realize that calibration with this monitor is done on the internal image processing chip without affecting the graphic cards. This helps keep images consistent with their original copies without being affected by a change to your graphic cards settings.
The OSD Controller
If you find yourself with the need to consistently work in different color spaces, such as sRGB, Adobe1998 and Black and White, the included OSD controller might become your new best friend. Once you have setup the controller, you can switch between the various pre-installed color space options found in the displays menu system. This kind of simple functionality is often missed with nearly every other high-end display I have ever used.
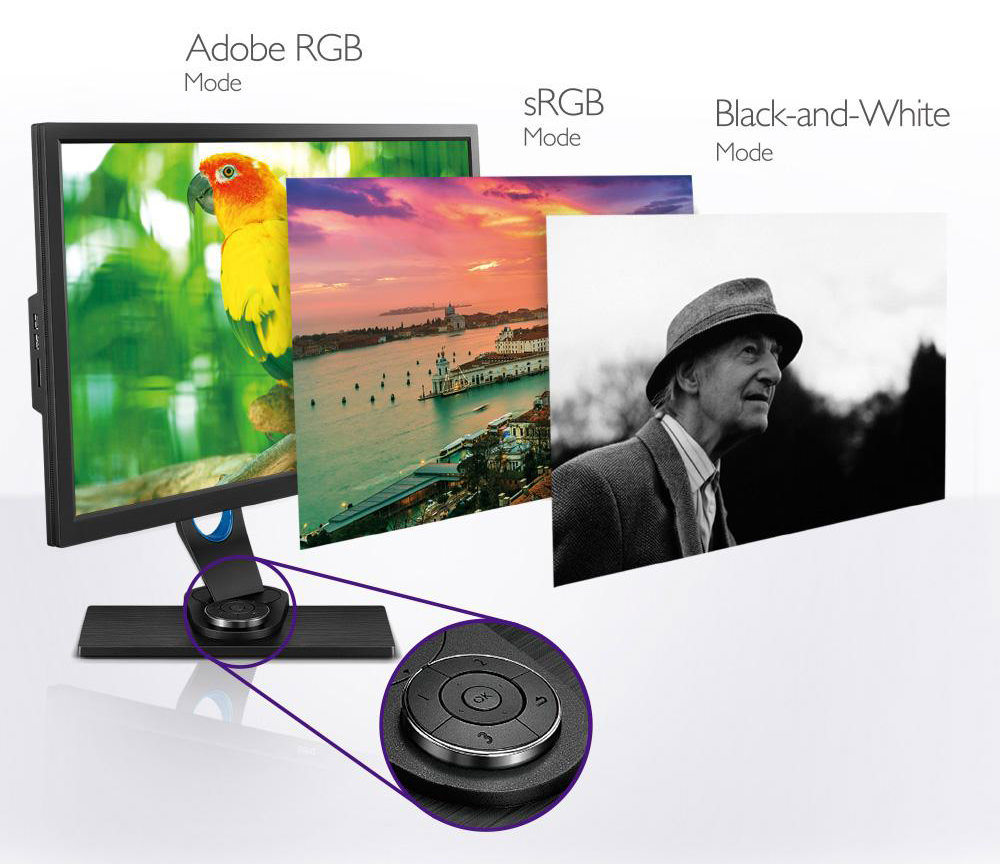
Even though I personally don’t feel the need to switch color spaces that often, it is great to have the OSD controller setup and ready to go just in case.
My Custom Setup
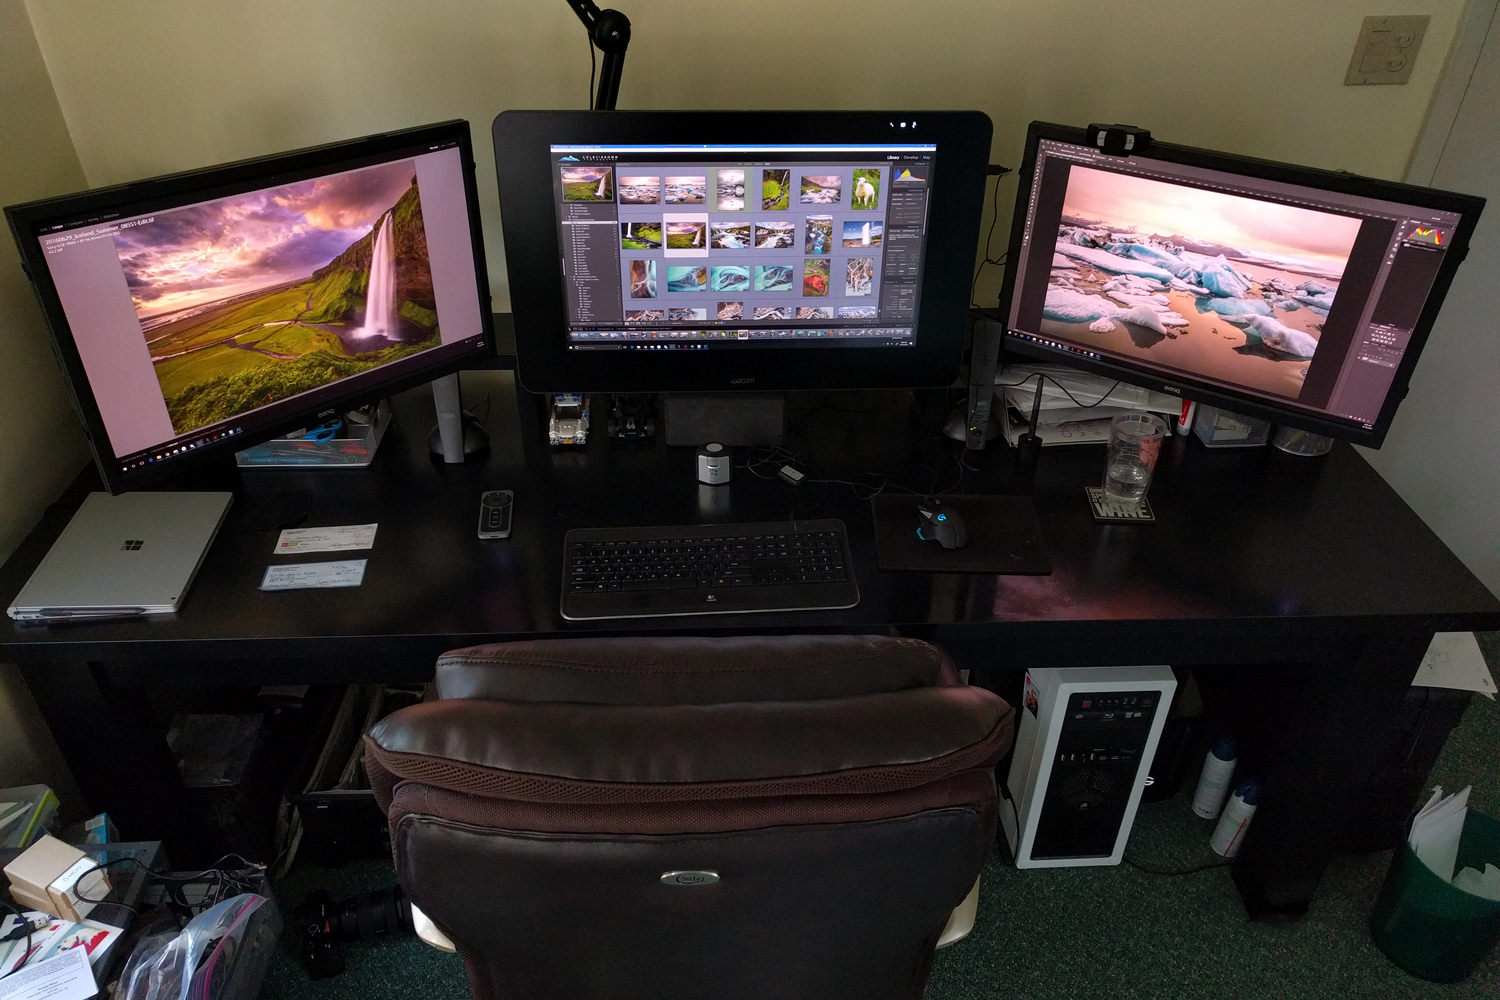
Now unlike many photographers out there, I simply have never been happy with a single monitor setup. No matter how big the display is or what resolution it offers, I have never felt like it was enough. While some opt for a dual monitor setup to help with multi-tasking, I prefer the “Star Trek” like immersive experience of a three monitor setup. While I fully accept that this is overkill for most photographers out there, I will happy walk you through my own custom setup.
At the heart of my digital darkroom, you will find a Wacom Cintiq 27″ QHD display. It is easily the bread and butter of my main photo/video editing system. This is mostly do to the fact that it has pen stylus support built right into the QHD display, allowing me to use a pen to edit my photos and videos right there on the monitor itself. Now this might sound a little weird if you have never used a Wacom pen stylus display before, but I guarantee that it is one of the more transformative purchases I have made over the years when it comes to how I process my work.
All that being said, it is only my main display. Flanking each side of my Cintiq are the two BenQ SW2700PT QHD displays I reviewed for this article. They are more color accurate and a brighter and more vivid viewing experience, allowing me to edit my images on my Wacom Cintiq and check the results with stunning accuracy on either one of the BenQ SW2700PT displays. All three monitors are connected to Ergotron adjustable arms that are attached to my custom built wooden desk. This allows me to independently adjust each display as needed in terms of height, direction, angle, depth and even the rotation of the display. When I am in photo editing mode, I can bring all three screens in close and create an almost VR-like experience, taking advantage of the multi-monitor setups found in Adobe Lightroom or Photoshop. When I am writing blog posts, sending emails or surfing the internet, all three monitors can be pushed further back, closer to the wall, letting me focus more on multi-tasking. All in all, this gives me true control over my displays and how I want my viewing experience to be. Although I would be lying if I said there are not downsides. For instance, this setup has forever ruined me from being content with a single monitor setup in an office ever again 🙂
Overall Thoughts
After using a pair of BenQ SW2700PT monitors for a number of months it is safe to say that I have come away impressed. Having previous been a happy user of the Dell Ultra Sharp line of displays as well as the ASUS Pro Art monitors, the SW2700PT has quickly become my favorite of the bunch. The IPS display offers great viewing angles, it offers a very wide color gamut (100% of sRGB and 99% of Adobe1998) and has a very sharp QHD display that compliments the 27″ size of the monitor very nicely. It stands out from the competition with the 14 bit 3D LUT, access to the Image Processing Chip on the display for color calibration, OSD controller for quick color profile switching, and a menu system/button interface that simply makes much more sense to me.
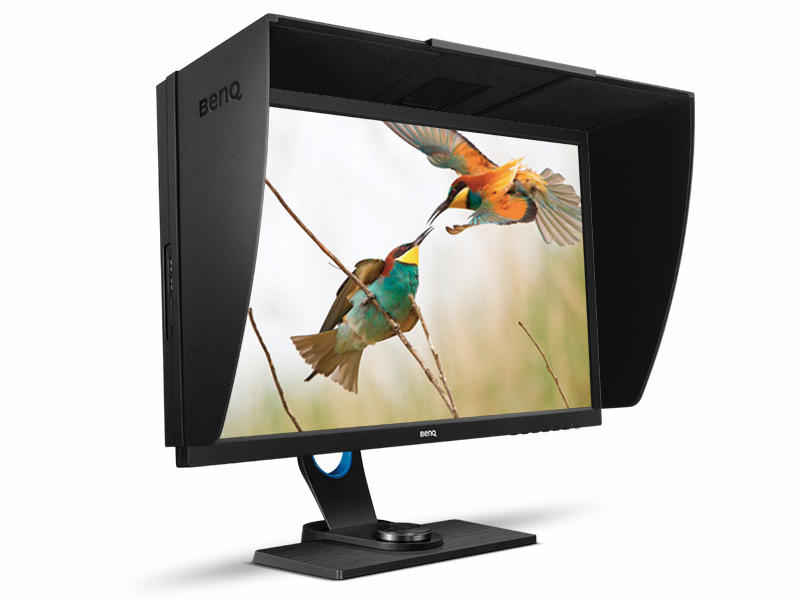
No matter if you are on a Mac or a PC, none of your applications will have an issue scaling to the high-resolution display. Match this monitor to a Colorimeter such as the X-Rite i1 Display Pro and you got a winning combo.
However, with all this being said, many still photographers treat monitors like filters or tripods. We don’t blink an eye at dropping $2000 for a camera or $1200 for a lens but hesitate when it comes to adding a high-quality display to our own digital darkroom. Why? I don’t really know. Having a monitor that can accurately display the true colors of the images I have taken is a vitally important aspect of my photographic workflow. So if you happen to fall into this category, I highly recommend you take a look at the BenQ SW2700PT…you won’t be disappointed!
Disclosure
BenQ never asked nor paid me to write this review, but they did provide the monitors that allowed me to test out the displays and see how they would work with my setup. All of the thoughts you read here are my own. I take my integrity as a photographer and a brand very seriously and wouldn’t lie or attempt to a deceive you in a day and age where it would very easy to fact check my observations. Looking at reviews for this monitor on Amazon, Google or B&H Photo will tell a very similar story.
Have a Question?
If you have any questions about this monitor or about color management in general, feel free to leave them in the comments below!

