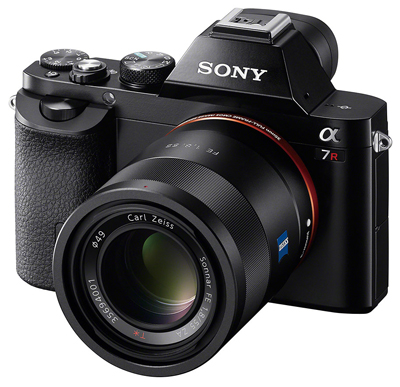
There is no doubt that Sony has the photo industry talking lately. While you can certainly purchase a very capable Canon, Nikon or Fuji camera, it is Sony that seems to be the most innovative these days, both in sensor and lens technology. So when Sony announced the a7 & a7r last year, I (like my of my colleagues) was intrigued, one could even say excited, with the notion of an affordable light weight, full frame mirror-less camera. Especially one that housed some of the same sensor technology that went into the popular Nikon D800e. But with this being 1st generation technology from Sony, was it truly going to live up to its hype? Is the Sony a7r truly a game changing camera? I had to find out.
Specs
- Camera Format – Full Frame
- Pixels – 36.8 Megapixels
- Max Resolution – 7360 x 4912
- Lens Format – Sony E-Mount (Handles new FE lenses as well)
- Bit Depth – 14-bit
- Memory Card Type – SD/SDHC/SDXC
- Video Recording Options – 1920 x 1080 : 60 FPS, 24 FPS | 1440×1080 : 30 FPS | 640 x 480 : 40 FPS
- Viewfinder Type – Electronic
- Viewfinder Pixel Count – 2,400,000
- Viewfinder Coverage – 100%
- ISO Sensitivity – 100-256000 (Extended Mode: 50)
- Shutter – Electronic | Speed: 30 – 1/8000 seconds
- Burst Rate – 4 FPS at 36mp
- Wireless Connectivity – Wifi/NFC
- Battery Type – 1x NP-FW50 Rechargeable Lithium-Ion Battery
- Dimensions – 5.0 x 3.7 x 1.9″ / 126.9 x 94.4 x 48.2 mm
- Weight – 14.36 oz / 407 g
Build/Portability
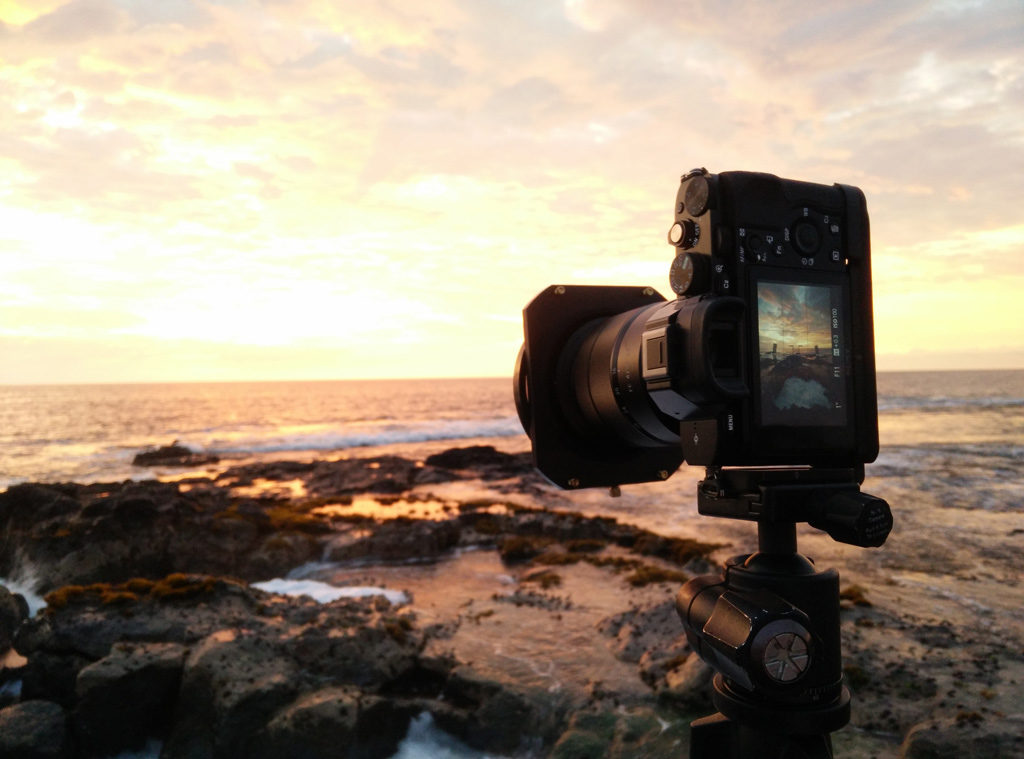
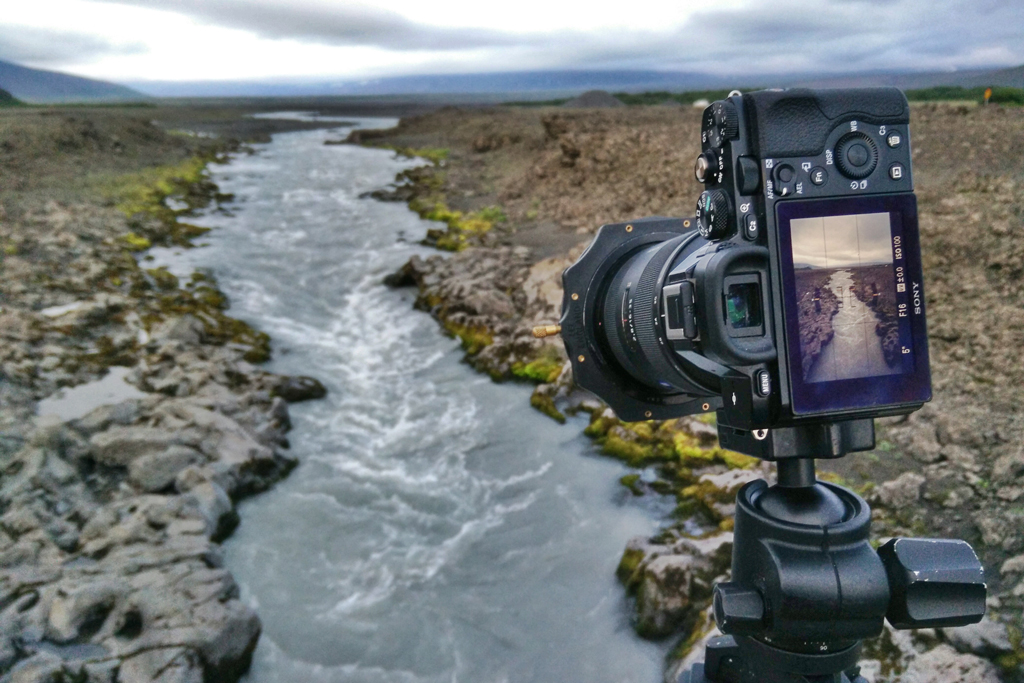
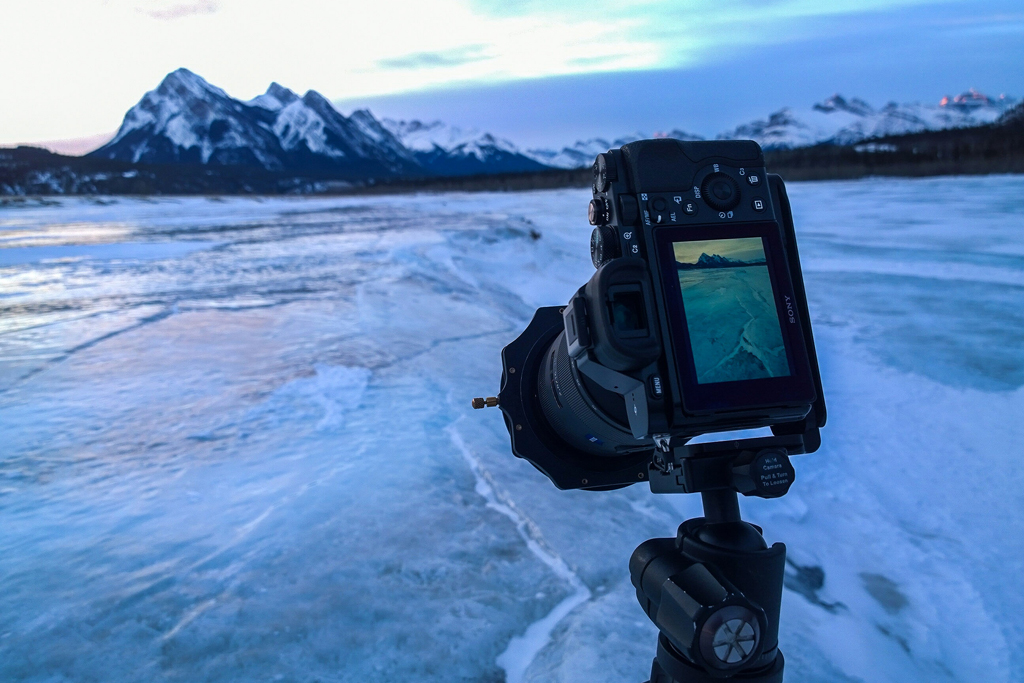
One of the first things that people says to me when they see me out shooting with the a7r is “I can’t believe how small it is”. When I run a dual camera/tripod setup with my Canon 1dx next to it, it looks almost like a child’s play thing. That isn’t to say that the build quality isn’t impressive or that it doesn’t feel solidly built when you hold it in your hands…but it is small…impressively so. The body itself weighs just 14.36 oz and can arguably fit in your pants pocket without a lens attached (if you have big pockets like I do). The topic discussion of how weather sealed it is has sparked a lot of debate as Sony has removed any previous indications that it came protected from the elements. For many, this was an admission that it does in fact lack any weather sealed certifications and that probably is the case…however my experience with it over the last 7 months proves otherwise.
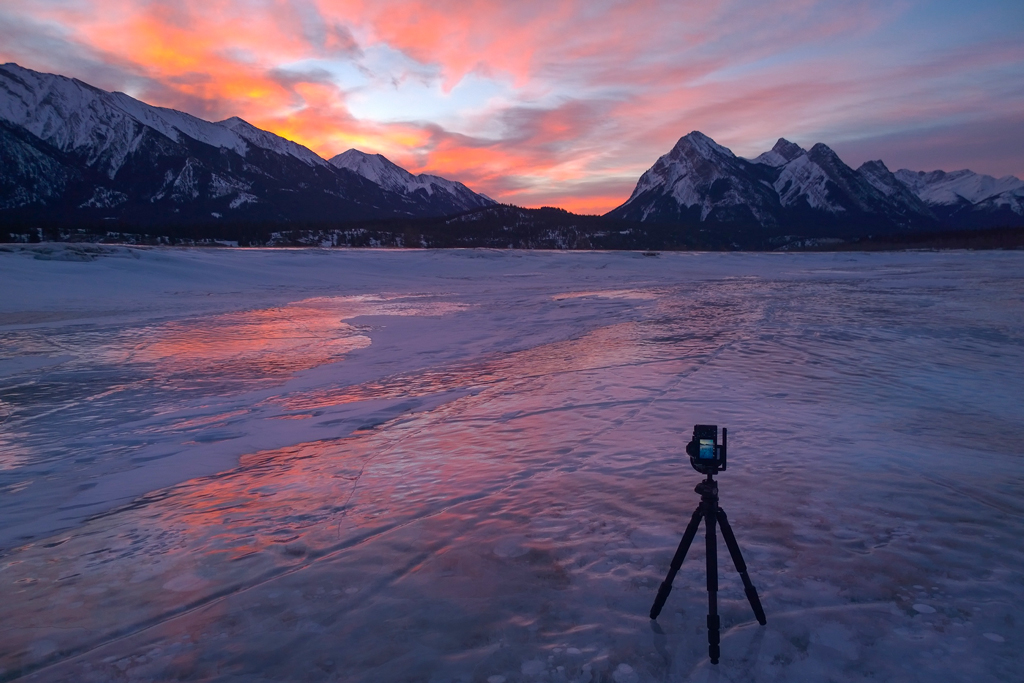
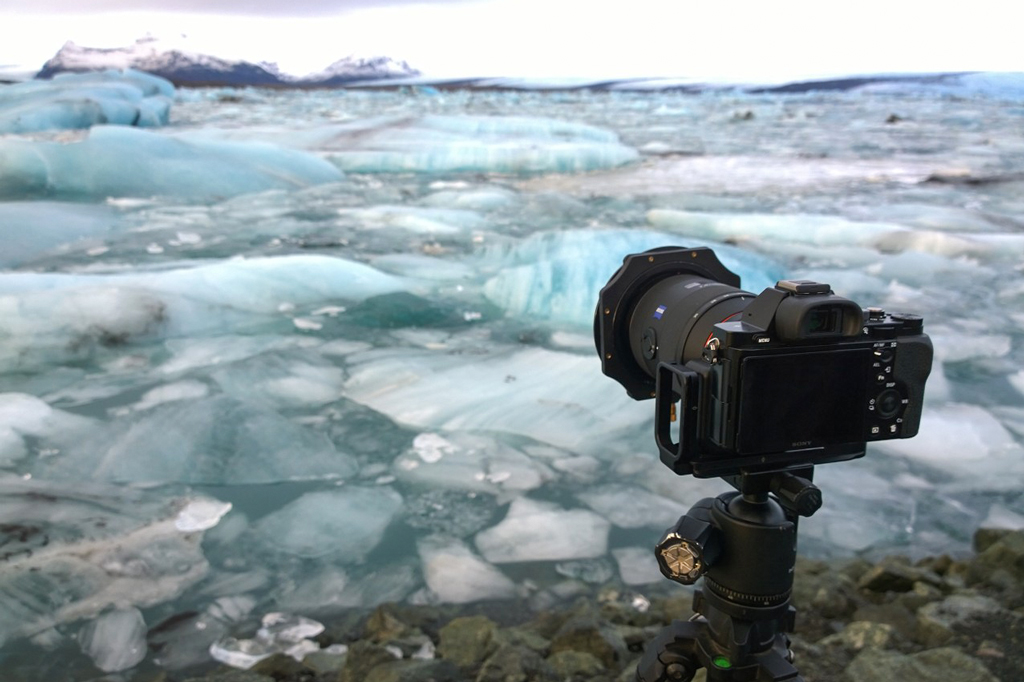
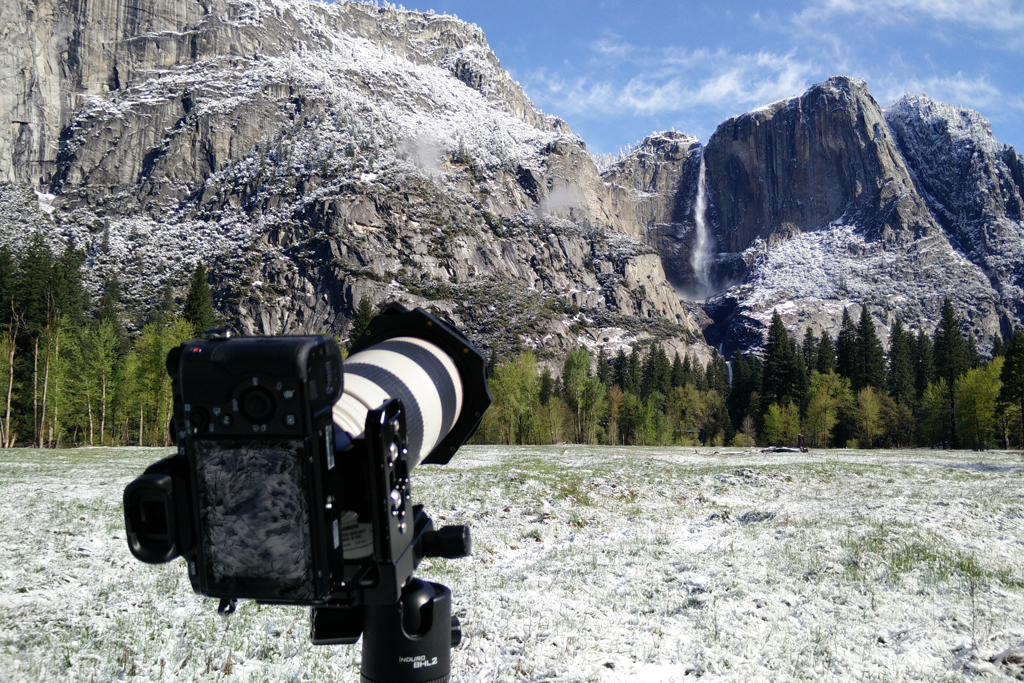
Since the camera was released late last year, I have taken it across the globe and back again multiple times. Pushing it to its limits to see what it was capable of doing. During this time frame, I took it on 4 arctic trips (3x to Iceland and 1x to the Canadian Rockies) where I dealt with temps as low as -50 degrees C. It has also been to the hot and humid environments of Hawaii, Christmas Island (in the Indian Ocean) and the Kimberly Region of Northern Australia. And to top it off it has experienced large amounts of rain and been put under waterfalls in Australia, Hawaii, Iceland and Yosemite National Park.
Overall, I think it is safe to say that I have tested this camera in a variety of environments that far exceeds the average photographer out there. So how did it perform? Exceptionally well! Would I rate it as good as my Canon 1dx? Not so much, but it did hold its own in every single environment I put it through. With cold, I was able to shoot for about 30-40 minutes in -48 degree weather before the LCD started having issue and I had to return to my vehicle to warm it up. With rain, it went through a number of down pours (including waterfall spray), getting drenched by all accounts and only turned itself off once after a prolonged exposure to water (multiple hours), after which I let it dry and it turned back on without any problems.
Articulating LCD
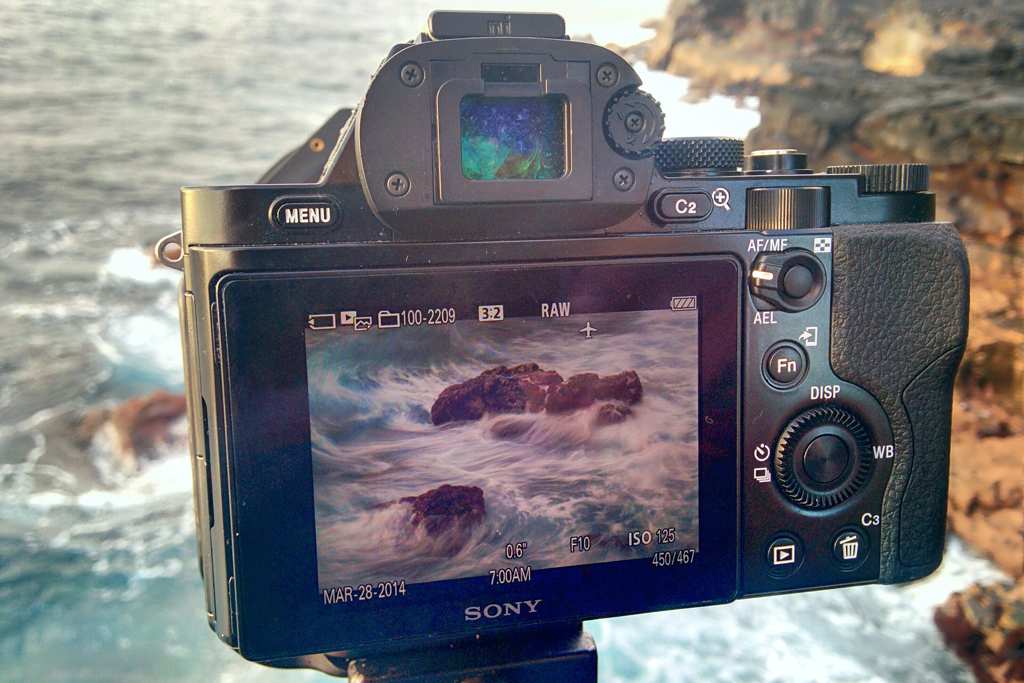
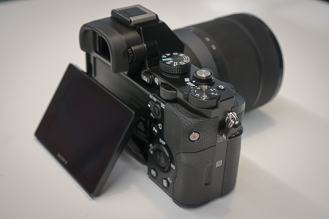
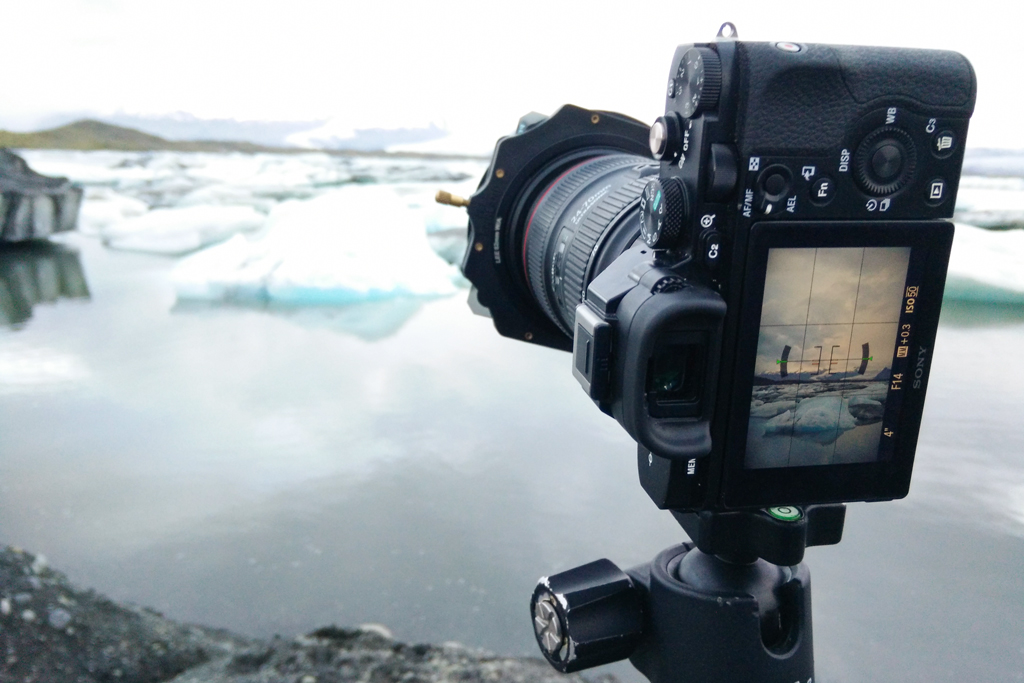
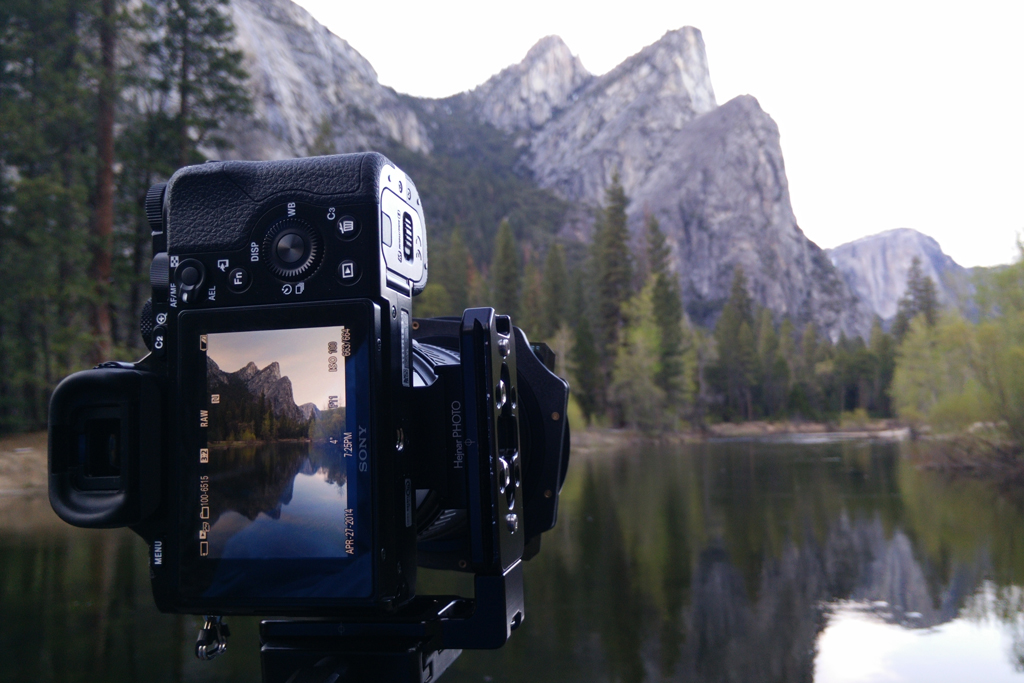
One of the lesser talked about features of the a7 series of cameras (including the a7r) is the LCD screen. While it doesn’t have touch functionality like the Samsung and Olympus mirror-less cameras, it does articulate. As a landscape photographer that purely uses live view manual focusing every time any camera of mine is set up on one of my tripods, this is a very welcome feature. By extending the screen and flattening it out, I can stand above the a7r while it is inches from the ground and still ensure that I have achieved perfect focus.
It is important to note that if you are a Nikon shooter, the Live View system on the Sony is much much better than what you have been using. You can actually tell if you are in focus in low light….I know…crazy right! 😉
Sensor Position/Cleaning
One thing truly worth mentioning is how difficult it is to keep your a7/a7r/a7s sensor clean. Because of how small the camera is, your sensor is essentially always RIGHT there when you change your lenses. This means that dirt, dust and even water (if it is raining), has a much higher chance of getting onto your sensor then if you are using a true DSLR. Because of this, I highly recommend you not only carry a portable rocket blower to blow away these dirt particles, but that you get efficient at cleaning your own sensor (something that takes some getting used to). It is not an easy task or one to be taken lightly as it will cost you between $500 – $800 for a sensor repair from Sony technicians. The sensor cleaning kit I use most of the time is from Copper Hill Images.
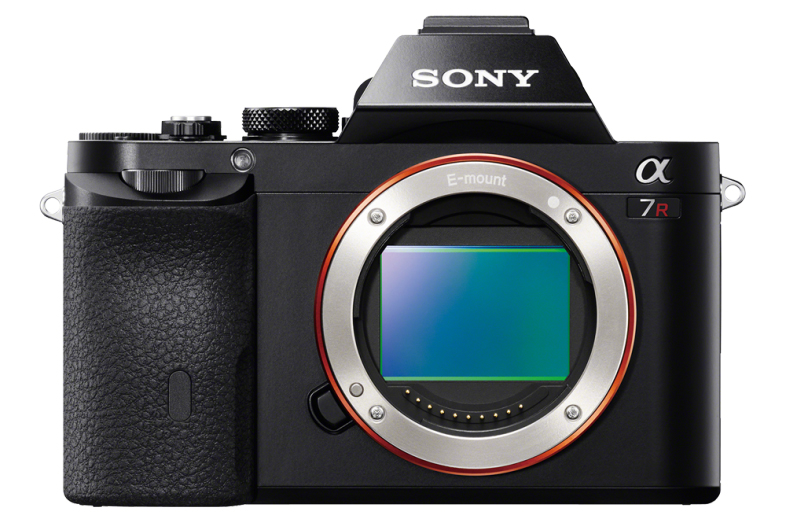
Sensor Technology
One thing that most photographers don’t realize is that Sony actually makes roughly 60% of the camera sensors in the market. If you have shot with a Nikon or Fuji camera for example, chances are you have been using a Sony sensor. If fact, the highly regarded sensor found in the Nikon D800E is not only Sony’s…but an improved version of that sensor is found in the Sony a7r. While not confirmed, the recently announced Nikon D810 is said to share a near copy of the a7r sensor itself. Impressive indeed considering how small they made the A7 series cameras. So what is special about the a7r? A few things coming to mind…
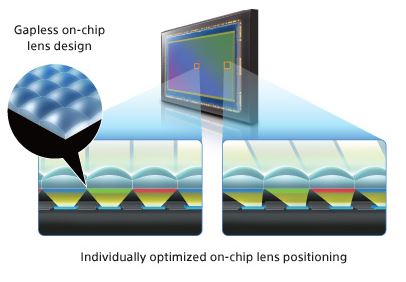
Gapless On-chip Design
One of the biggest advantages of the sensor that Sony put in the a7r is that fact that it can record a slightly larger range of light than most DSLR sensors. This means that instead of having to bracket two exposures to cover the range of light in a particular scene, I might be able to capture all the image data I need in one shot. In this day and age of HDR (High Dynamic Range) photography where you are blending multiple images together, I have found myself using three images on the a7r where I might of had to use 5 with the Canon 5D Mark III. Sony was able to accomplish this partly because of their Gapless On-chip Lens Design.
No AA Filter
While the Sony a7 uses an already impressive 24mp FF sensor, the a7r comes with 36mp high resolution sensor that has had the AA filter removed. So what is the AA filter and why is its removal important? Essentially the AA filter, which stands for Anti-Aliasing, is a blur layer that is applied to most DSLR sensors to help remove certain unwanted artifacts, such as Moire patterns (repeating light and dark bands) that can become present when capturing objects with small repeating patterns.
While a sensor with an AA filter does help to remove these unwanted patterns, they also can take away a certain amount of detail of our your images as well since it is essentially a “blurring” filter. It is important to know that all Medium Format cameras do NOT have an AA filter either, allowing you to capture the most amount of detail in an image, rendering images sharper then cameras with sensors that have the AA filter still intact. While I haven’t experienced any Moiré Patterns in the images I captured with the a7r, Adobe Lightroom & Adobe Camera Raw have tools to help you remove/lesson these patterns if they were to appear.
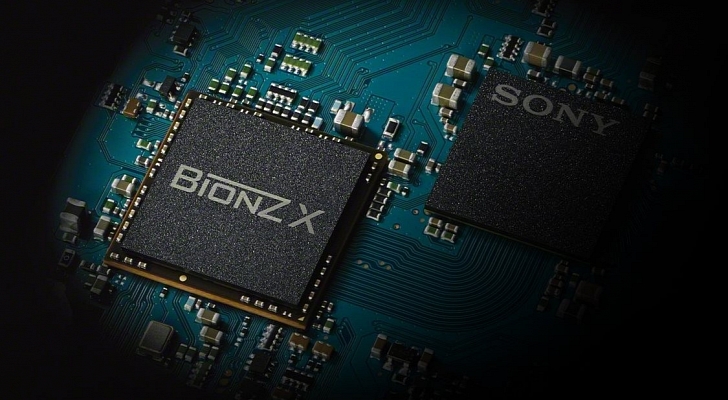
BIONZ X Image Processing Engine
Behind the a7r’s sensor is Sony’s new BIONZ X Image Processing Engine which helps you capture textures and details in a more realistic way. Over all, Sony says that this technology enables you to capture more natural details, more realistic images, richer tonal graduations and lower noise. While most of that is up to the subjective preferences of each photographer, I will say that the a7r has a unique feel to it, both in terms of detail, color and tone. In contrast, both Canon and Nikon have their own look and feel as well. So what are my thoughts? I really like the look (SOTC) of the images I have taken with the a7r, especially the texture detail (which probably has more to do with no AA filter) but do I like the overall look more than Canon or Nikon? I don’t really have an answer to that. They are all different in some way and it depends on what you are going after. The Sony a7r has replaced my 5D Mark III, so that should say something I suppose.
Battery Life
One of the trade offs to using a camera that is so small and lightweight is that their batteries have to be small too. Where my Canon 1dx battery could last a few days with moderate shooting, I find myself having to recharge my Sony a7r batteries just about every night after a shooting session. If the light is good and I am shooting a lot, I could easily go through two batteries in a single evening. Because of this, I always carry anywhere between 4-6 of Sony’s NP-FW50 batteries with me at all times.
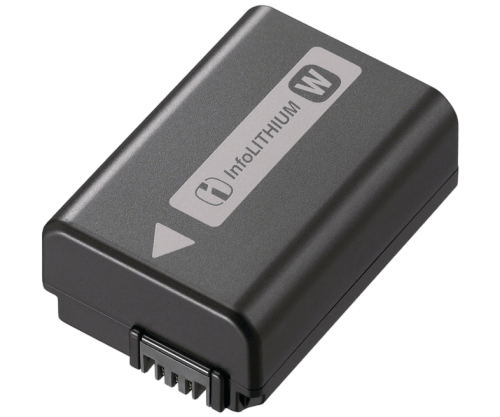
I could of picked up the external battery grip for the a7r from Sony, but to me that begins to defeat the purpose of such a lightweight and portable camera body. In the end, having the a7r and 4-6 spare batteries in my bag is still lbs lighter then my Canon 1dx and its spare batteries or my old Canon 5D Mark III, its batteries and the battery grip I had on it at all times. Luckily these batteries are pretty cheap, a far cry from the expense of the LP-E4n batteries for the Canon 1dx.
In Camera Apps
One of the interest features of many of Sony’s mirror-less cameras is their ability to download apps (similar to a smart phone) that help expand the functionality of the camera. While there isn’t a large offering of apps currently available, there are a few that extremely helpful, such as the app known as “Time-lapse”. Instead of forcing a photographer to purchase a remote to help you with time lapse or timed images, you can purchase this app for a few bucks and run it straight from your camera. Essentially it allows you to easily create time lapse movies, giving you control over File Format, Interval between shots, total number of shots, exposure lock and more.

As Sony continues to open up more API’s, more and more functionality will be brought to their mirror-less cameras. Exciting times ahead!
Lens Ecosystem
*UPDATE – The full in-depth review of the Sony FE 16-35 f/4 is now live. LINK
One of the biggest advantages of the Sony a7r, is that it gives photographers access to an incredibly power high resolution sensor while not limiting you to Sony’s limited FE lens lineup. Effectively, one can use Canon, Nikon or even Leica glass (amongst others) on the a7/a7r/a7s camera bodies. This is a good thing because the cameras native lens line up is pretty small. That isn’t to say that Sony isn’t doing pretty amazing things with the FE lenses currently on the market…but that your choice of currently available full frame FE lenses can be counted on one hand.
As of today, you can pick the following FE lenses: 35mm f2.8 FE , 55mm f/1.8 FE, 24mm-70mm F4 FE OSS, 70-200mm f/4 G FE OSS and 28-70mm f3.5-5.6 FE OSS. Each of these lenses packs a lot of power in small and lightweight casings. Now is the Canon 24-70 F/2.8 II sharper then the FE version, yes (especially in the corners), but the difference isn’t monumental. When looking at the FE 55mm f/1.8 lens, it is said to be the best AF lens that DXO Mark has ever tested (bested only by the manual focusing Zeiss 55mm f/1.4 OTUS lens that costs 4x as much). All in all Sony has managed to pull off some pretty amazing technical magic with all these new lenses, considering their size, weight and optical quality across the board. I have used the 35mm and 55mm extensively, and I have to say, I enjoy them both (although the 55mm is hands down my favorite).
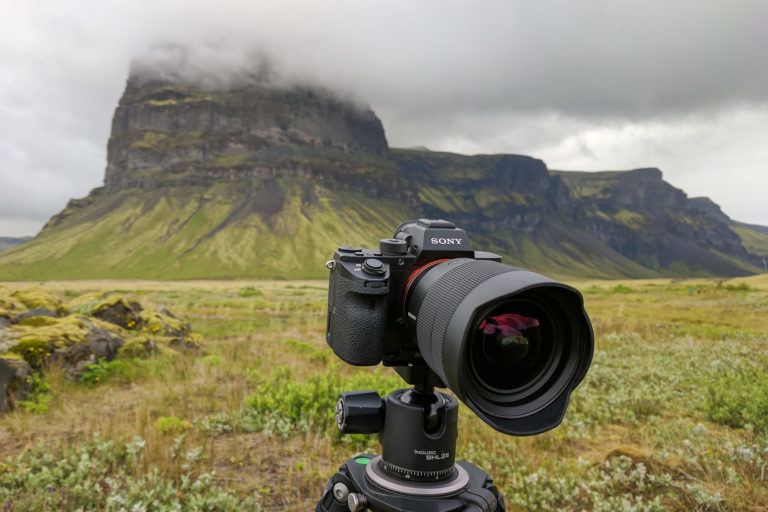
While Sony will undoubtedly continue to release FE lenses and push the boundaries of what can be done with small lightweight FF lenses, you can also use Sony’s E mount (cropped sensor lenses) without an adapter as well as their Alpha line of lenses (DSLR) through the Sony LA-EA4 adapter. Unlike the Canon EF Metabones adapter (that I will discuss in detail later on) that offers slow AF capabilities, Sony was able to build an AF system directly into the their Alpha adapter, allowing you to take advantage of nearly all of the AF capabilities of their extensive Alpha line of lenses. While I continue to wait for Sony to release a nice wide angle FE lens, I have been using the Zeiss 16-35 f/2.8 ZA Sony Alpha lens with my Sony a7r. While the added weight of the adapter and the bulky 16-35mm lenses tend to negate any weight savings with the lightweight a7r over my Canon bodies, I have been incredibly happy with the image quality results (which you will see in the “Image Gallery” section of this review). *UPDATE* – Check out my First Look of the Sony FE 16-35 f/4 ZA OSS lens.
As a Canon shooter previously, I had full access to my Canon lens lineup as well, which was a huge plus during my migration process to Sony. Over the last 6 months, I have used the following Canon lenses:
- Canon 24-70 f/2.8 II
- Canon 70-20 f/2.8 IS II
- Canon 17mm f/4 TS-E
- Canon 24mm f/3.5 TS II
- Canon 100mm f/2.8 IS II macro
While the use of these lenses has provided excellent results, there are a few caveats. The first and most obvious is that AF doesn’t work that well with the metabones adapter. You do have the ability to AF, but it takes so long, it is not viable to use with moving subjects. Outside of that, the 70-200mm and 100mm macro both come with their own challenges. For the macro lenses, I found using LiveView to be pretty deceiving in terms of establishing your focal planes (on this lens only), which made it difficult to use in many macro situations. With the 70-200, I have experienced a known problem with the a7r called “shutter shake” on occasion. What happens is that when you are shooting around 1/100th of a second, the shutter can cause unwanted vibrations when it opens and closes, causing your images to come out soft or sometimes just slightly out of focus, even when using a tripod. When your shutter speed is faster or slower than 1/100th of a sec, it tends to mitigate this issue. The work around is to apply pressure on the back of your camera towards the ground with your hand or palm in an even manor to help stop the unwanted vibrations. It should be pointed out that Sony is very aware of these issues (I have spoken to the Sony Alpha Product Manager multiple times) and the newest Sony a7s comes with a true “silent” electronic shutter that completely fixes the problem so it is only a matter of time before this technology is added to the next generation of the a7r line of cameras. All this being said, you can still get amazing results out of this combination, but you have to aware of the issue in the first place.
Recommended Accessories
When it comes to making your photographic life easier with the Sony a7r, there are a few accessories that I highly recommend you think about purchasing. While some of these are obvious, others I found through trail and error sessions I had in the search for the tools I needed to help the a7r fit into my photographic workflow.
Wireless Remote
In my book, anytime you are shooting from a tripod, you should always use a remote shutter release to help mitigate any additional vibrations you might add to your shot (especially important with the high resolution of the Sony a7r). While Sony does offer a wireless remote for the a7/alpha series of cameras, the Wireless Remote Commander retails for $30. Their wired version can run upwards of $50.
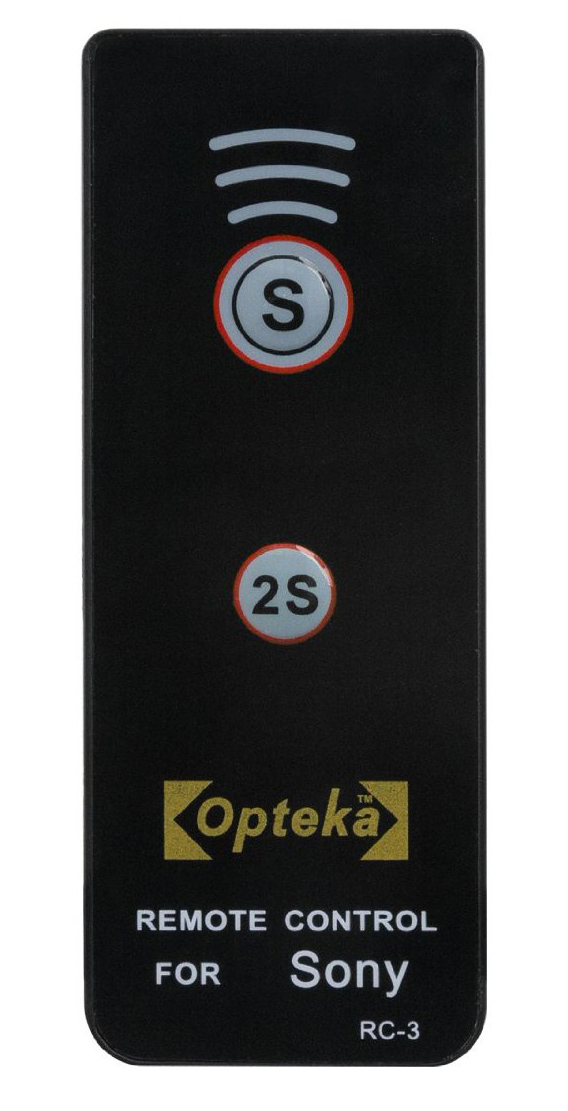
There are however much cheaper options, especially since the A7r has an IR (infrared receiver) that triggers the shutter. Not only can I remote trigger the shutter from various high end Android phones, such as the HTC One M8, but the Opteka (Chinese Brand) RC3 can be found for $7.95 on Amazon. Once I realized this remote worked so well, I picked up two spares, just in case.
Dual Battery Charger
One of the surprises of the Sony a7r was that it does NOT come with a battery charger. Instead, you have to plug the camera itself into the wall (using any standard micro USB cord). This of course can be cumbersome at times as well as inefficient if you have multiple batteries to charge. While you could purchase an additional Sony 1x battery charger for $49 – $59 dollars, I found a much better solution.
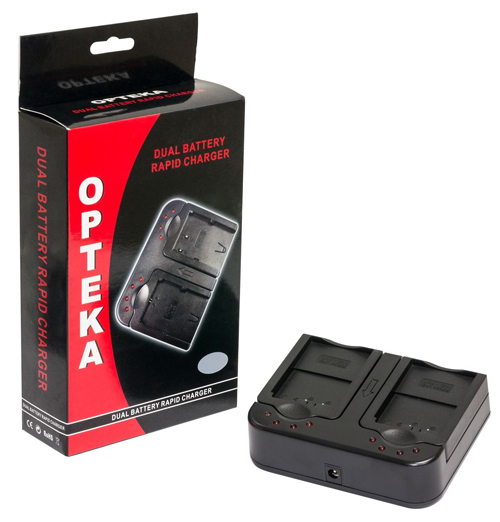
Relying on my favorite 3rd party Chinese brand again, Opteka has a solution…kind of. While they do have a dual battery charger that can power the Sony a7r batteries, they don’t sell it as is. Fortunately, all of their battery chargers have removable/switchable plates which allow you to mix and match plates for your battery needs depending on the kind of battery you need to charge (so in theory I could charge a Sony a7r battery as well as a Canon 5D Mark III at the same time). So in order to get the dual battery charger for the Sony a7r, you need to purchase three products. 2x Opteka MBC -series AC/DC charger (Select the NP_FW50 option from the drop down menu) + 1x the Opteka DBC – Series AC/DC Dual Charger (Pick any battery option in the drop down menu) and then simply switch the battery plates so that you have two NP_FW50 plates on the dual charger. All in all this will cost you around $28 USD, but you will have a dual charger for your a7r that works both in vehicles and with any wall socket.
Canon Lens Adapter
As I mentioned earlier, one of the best features of the Sony A7 line of cameras is its ability to use nearly any lens from nearly any manufacturer you can think of. Think of it as the universal receiver 😉 While this means that you can use Nikon glass or Leica glass, I am came into this as a Canon shooter first. On top of that, as a landscape/travel photographer, I find that Canon’s Tilt Shift lenses are a perfect fit for the a7/a7r. If fact I know of a few Nikon shooters who picked up the a7r solely to allow them to use one of Canon’s wide angle T/S lenses, such as the 17mm or 24mm (both of which I own).

In order to get these lenses to work, you need to pick up an adapter and while you have a few choices, the most popular version is from Metabones. This isn’t to say that their adapter for the a7r was perfect, as they initially had some quality control issues, namely a poor choice of internal reflective material on the Mark III version of the adapter that caused unwanted light reflection in some situations. Luckily, their latest version (Mark IV), solves this issue. Either way, if you want to use Canon glass on your a7r, this is a must purchase.
L Bracket
One of the most important accessories any tripod using photographer can pick up for their camera is an L Bracket. So what is an L bracket? It is a metal Acra Swiss tripod mount that wraps around your camera and is shaped like an “L”. This allows you to easily go from landscape orientation to vertical orientation, all the while keeping the center of gravity directly over your tripod, as opposed as throwing it off and having your camera lean to the side. The problem with the a7r in regards to this are the adapters. While I have a Really Right Stuff A7r L bracket that fits on the body of my camera, I can’t use it when I have an adapter on because of the dimensions of the camera itself. The base of both the adapters I have (Metabones for Canon EF Lenses & the Sony LA-EA4 for use of Alpha Lenses) are too close to the body of the camera, effectively blocking my tripod from securing with the L Bracket. To solve this issue, I have had to buy two separate L brackets…not for the a7r…but for the adapters I am using. So instead of my tripod connecting to the base of my camera, it now connects to the L-brackets that are always secured to what ever adapter I am using at the moment.
Because I use both Canon and Sony Alpha lenses with my a7r, I had to find L-brackets that fit both adapters. For the Metabones Canon EF lens adapter, I found one from a small company called Hejnar Photo. For the Sony Alpha LA-EA4, Really Right Stuff has a solution for you.
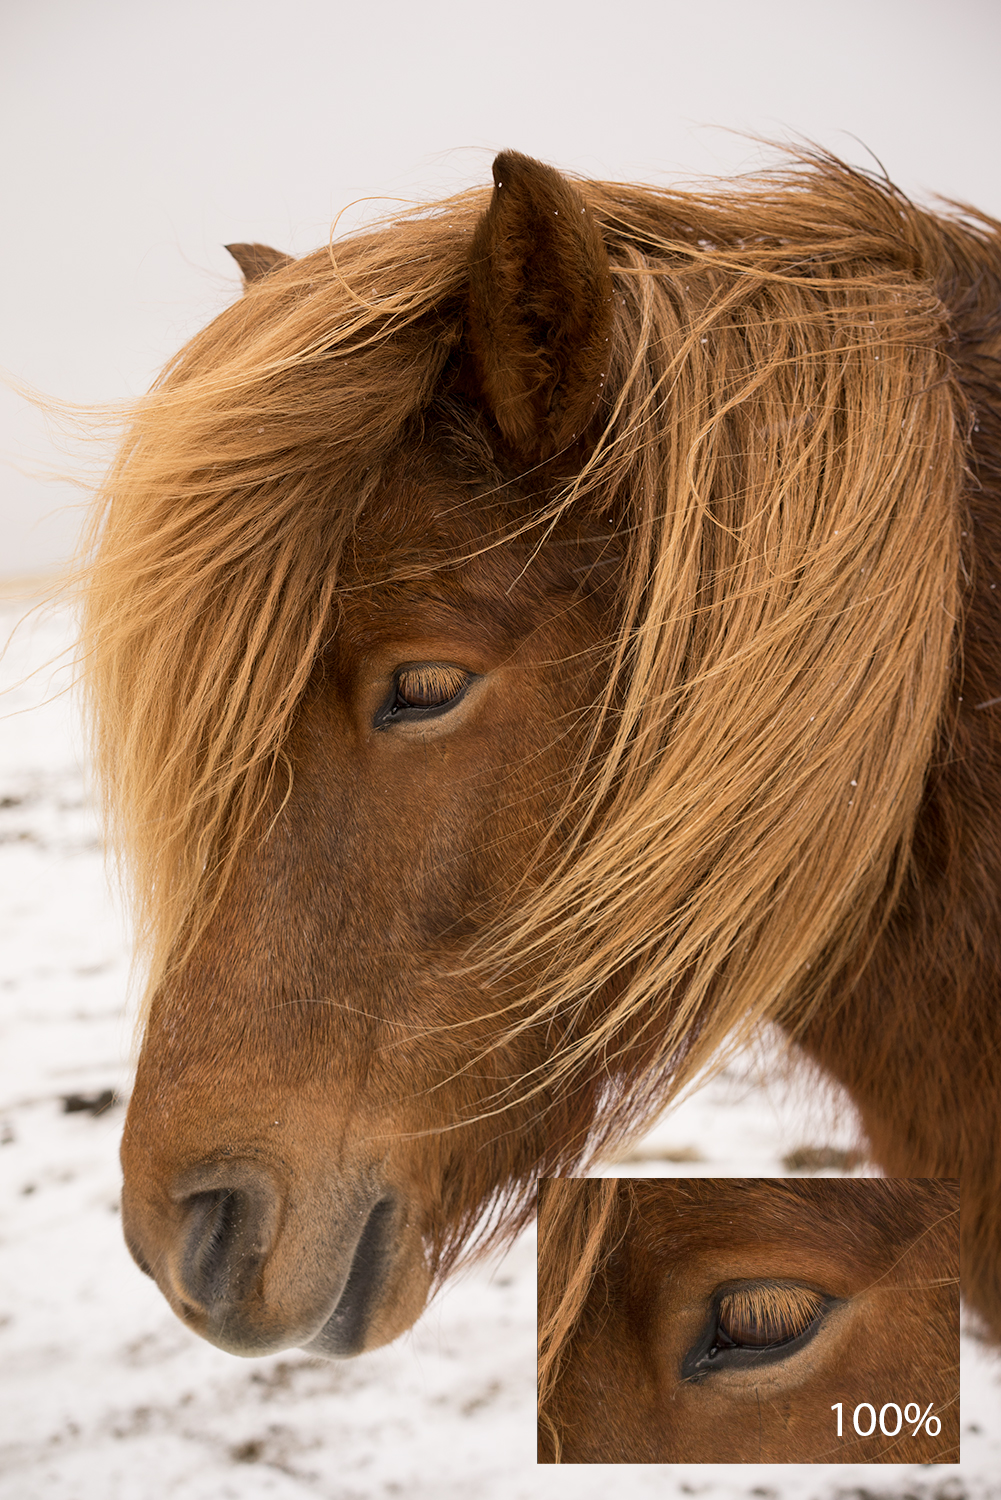
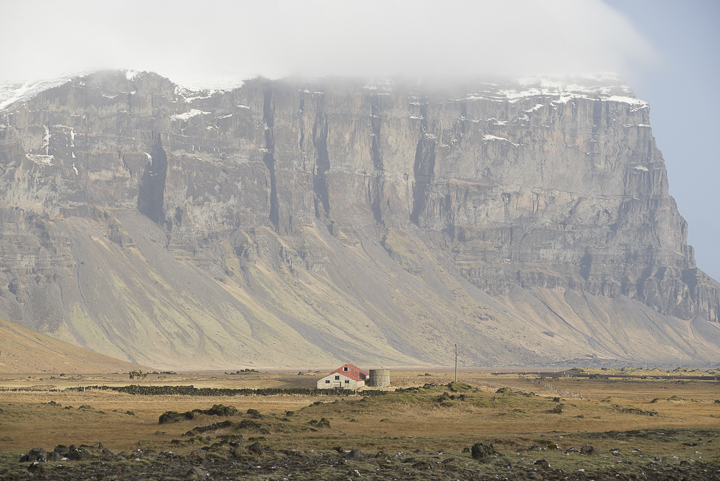
Image Gallery
Now for the reason that many of you are hear in the first place…to determine what this camera is actually capable of capturing. I have broken the following galleries up into two different sections. The first gallery consists of five SOTC (Straight Out of The Camera) images. Here you will find a small group of images that were captured in RAW, uploaded to LR and then exported as high resolution JPGs. The second gallery is full of images that I have processed to showcase what is possible with the a7r. *there is a glitch in my current Gallery plugin that causes the thumbnails to lack a touch of saturation. Click on each image to enlarge it to get a better sense of their quality…
SOTC Gallery


Finalized Images


Raw Image
Strengths
- 36mp Sensor with no AA filter
- Light weight & portable
- Incredible Image quality
- Near universal compatibility (with adapters) to use lenses from other manufacturers
- High quality articulating rear LCD
- Excellent Live View in low light situations (Almost as good as Canon’s, miles ahead of Nikon’s offerings)
- While not officially weather sealed, it can handle its own in challenging environments
- A couple excellent offerings in the FE lens mount from Sony (albit more need to be announced/released).
Weaknesses
- Relatively shorter battery life compared to larger DSLRs (understandably)
- Menu system still lacking expanded auto bracketing options
- Some users have experienced Shutter Shake when using telephoto lenses around 1/100th sec shutter speeds
- No silent shutter option
- AF system on the a7r isn’t as good as the a7 or a7s
- More FE mount lenses would be welcomed. By 2015 this won’t be a problem anymore
- Sensor requires more frequent cleanings
Final Thoughts
When Sony first announced the a7r, many photographers felt it was going to be a game changing camera. I mean what isn’t to love. A small lightweight mirror-less full frame camera with an incredibly powerful 36mp sensor with no AA filter. Landscape photographers around the world where literally salivating over the press release. So after using it extensively for over 6 months, what is my verdict? Does it live up to the hype? In this photographers perspective, it does, but with caveats. Ultimately It has set the bar for all cameras moving forward in terms of what photographers are looking for. No camera is perfect, but the pros for the a7r far outweigh its cons in my mind, based on my experience and the kind of photography I specialize in.
For me, the Sony a7r has replaced my Canon 5D Mark III, effectively being my go to camera for anything I am shooting from a tripod, which is much of my landscape and travel work. Not only has it allowed me to shave a few lbs off my camera backpack, but the sensor on this thing is incredible. The rear LCD does a great job, allowing me to manually dial in perfect focus (something I ALWAYS do when shooting from a tripod) in nearly any environment (including low light), given both its quality and articulating abilities. Lastly, having the opportunity to use Canon, Nikon, Sony, Zeiss and even Leica lenses opens up so many doors that were previously closed for photographers. That in itself is a game changer!
So what improvements would I want for the 2nd generation of the a7r? To start things off, I would like a little better AF system. If they bring the technology they put in the recently released Sony a6000, it would make the a7r a much more universally effective camera, rather than one that I found best suited for landscape, travel and studio work from a tripod. On top of that, there needs to be a true silent option for the shutter (or an entirely electronic shutter), which would most likely fix the shutter shock issues that can potentially be experienced with this camera and the rear LCD should have touch functionality (it is 2014 afterall). Lastly, Sony needs to open up the menu system a bit to allow similar functionally that nearly every other DSLR/Mirrorless camera has. If I want to shoot a 5 image bracket at 1.5 stops between my images, I should be able to. Is that overkill for the dynamic range of this camera…probably. But I still would like to have the option, which I don’t currently have. Manual bracketing works just fine, but extended auto bracketing would be a nice touch. With all that said, do I recommend the a7r? Yes! Even with its quirks, it is leaps ahead of the other mirror-less options out there. If you are a landscape/travel photographer that uses a tripod and is looking for a powerful, small and lightweight addition to your system, this is the camera for you! Unlike most mirror-less camera options that are solid secondary cameras, the a7r could easily be your main body, depending on what you photograph. If you have an extensive amount of lenses from your current system, the a7r should be even more attractive as you will not be forced to buy all new glass. However if your photography work requires top of the line auto focusing (especially in low light situations), you might want to hold off until the next generation comes (or check out the a7 or a7s instead).
All in all, I am incredibly impressed with what Sony has been doing with both sensor and lens technology lately. While the a7r has become a permanent part of my gear setup, I still need to use other camera bodies to handle my low light auto-focus needs, such as my humanitarian work. While you can purchase very capable cameras from Canon, Nikon, Fuji and even Olympus, it is Sony that is seeming to push the boundaries of what the photo industry thinks is possible. Remember when you were told that there was no way to fit a FF sensor inside a tiny mirror-less body? I do 🙂
FULL DISCLOSURE While Sony did not pay me or ask me to write this review, they did send me an a7r to test and use as I pleased on many of my projects around the world.